Key Takeaway:
- Proper mixture ratio is crucial when working with epoxy resin, as it can affect the curing process. Always follow the instructions carefully to ensure the best results.
- An oven can be used to cure epoxy resin, but it should not be overheated as it can emit toxic fumes and damage the resin. Low temperature is recommended for curing to avoid any potential dangers.
- Manipulating the temperature and sunlight can speed up the curing process of epoxy resin. Keep in mind that the curing time may vary depending on the type and brand of the resin used.
Searching for the perfect way to fix your resin art? Don’t stick with the classic – air dry! You can cook resin in an oven to cure it quickly and simply. Check out these crucial tips, and you’ll get great results each time.
Understanding Epoxy Resin Chemistry
Epoxy resin is a versatile material used in various DIY projects that require bonding, coating, or casting. To understand epoxy resin chemistry, it is important to recognize that it is a two-part system where the resin and hardener combine in a chemical reaction that creates a durable and strong material. The mixture ratio and temperature play critical roles in the curing process. While the manufacturer’s recommended guidelines are essential, manipulating temperature can speed up the curing process. However, extreme temperatures, including over-heating, can reduce the resin’s effectiveness and drop its properties. While some suggest using the oven for even curing in non-industrial epoxy resin applications, it is recommended to avoid it unless the manufacturer recommends it and even then, use caution.
The Two-Component System
Epoxy resin is widely used in various resin projects. The bonding process involves a two-component system that requires the correct mixture of resin and hardener. The epoxy cure process is time-consuming and can be tricky to manipulate. A few resin rules of conduct that manufacturers recommend mix instructions, drying time, and cure time are essential to achieving perfect bonding properties.
The Two-Component System Table:
| Component | Mixture Ratio | Working Time | Dry Time | Cure Time |
|---|---|---|---|---|
| Resin | 1 | 25 minutes | 8 hours | 72+ hours |
| Hardener | 0.5 |
Manufacturers recommended guidelines should be followed when working with epoxy resin. It’s essential to note the type of resin being utilized as each has unique attributes that may require downtime between coats or extended cure time periods. Overheating can cause blistering or drop properties, making it vital to avoid exposing the mixture to heat production above recommended levels.
Suggestions:
- Use a convection oven for a faster drying effect;
- Ensure accurate measurements when mixing components as varying proportions will reduce the strength properties;
- Do not exceed the manufacture recommended curing times; this includes avoiding direct sunlight exposure.
- Clean tools before mixing new batches;
- Never use bleach on cured epoxy surfaces as it may damage or dull the shine.
To ensure your epoxy resin project receives optimal results, here are suggestions you can consider:
Importance of Proper Mixture Ratio
Maintaining the correct mixture ratio is crucial when adhering to manufacture recommended mix instructions. This ensures the products are mixed correctly and achieves optimal results. Failing to adhere to these manufactures recommended guidelines can lead to several problems.
Using incorrect mix ratios can hamper appropriate molecular bonding between materials or cause off-gassing, cold joints, and other material defects, leading to structural weakness or failure over time. Consistency in mixing ratios enables one to achieve good properties such as high strength, flexibility, and impact resistance.
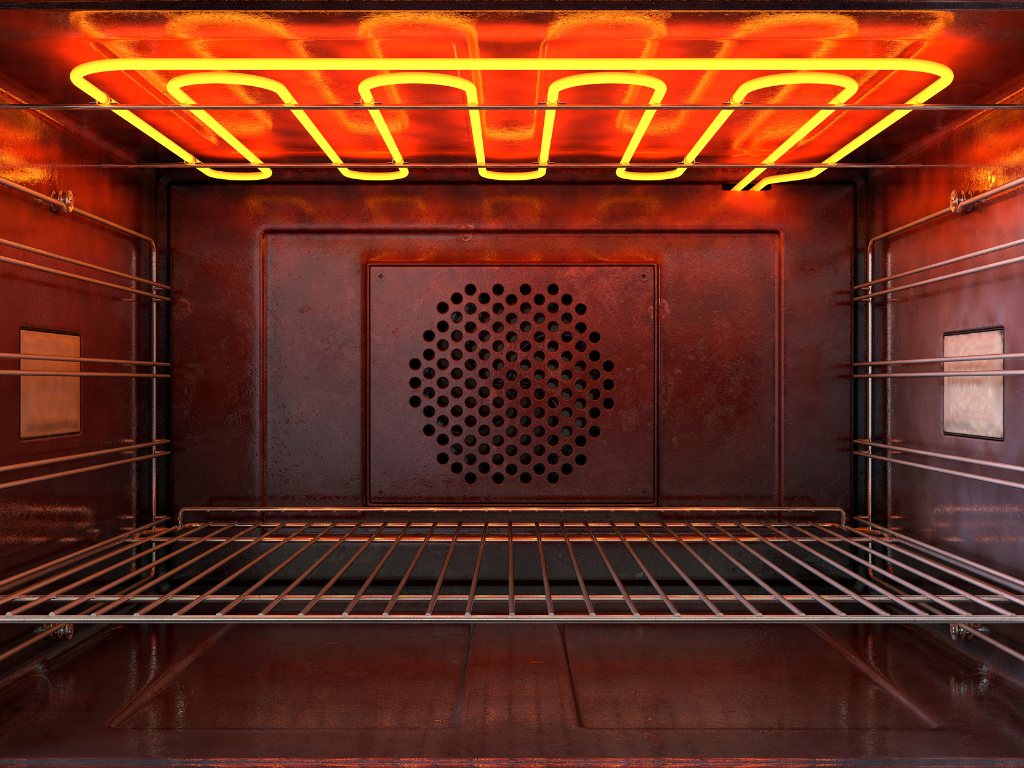
It’s worth noting that some oven convection fans run continuously as a part of their normal operation and does not imply a defect with the appliance. If it smells like lighter fluid or anything suspicious when turning on an electric oven for the first time, clean it with soap and water before use.
Additionally, ovens that blow cold air instead of hot require technical troubleshooting. It might involve checking the igniter or safety switches connected to electronic control boards. Sufficient knowledge is necessary before making any electrical repairs that can lead to accidents like fire outbreaks.
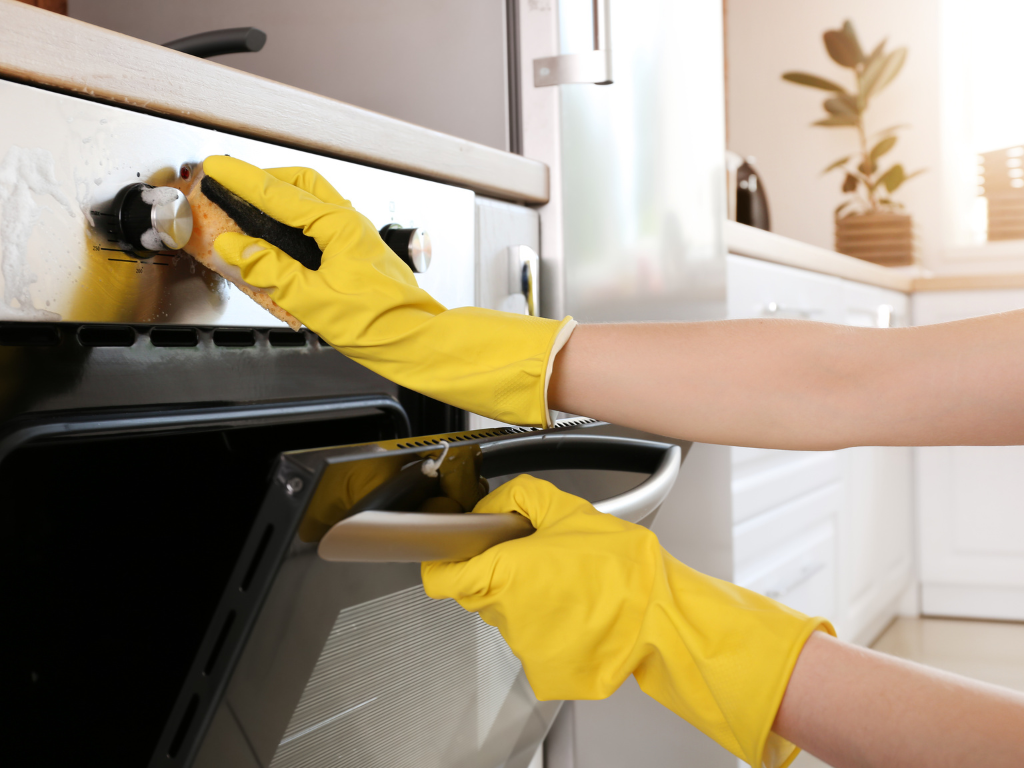
Accordingly, always read oven manuals thoroughly before using them. Do not clean any glass parts that have exploded in a self-cleaning feature oven until it has cooled down entirely. Use bleach somewhat sparingly while cleaning an oven since using too much can create dangerous fumes.
In short, although maintaining the right mixture ratio may seem minor at first, failure to follow makes a structural difference in material applications’ strength and durability over time. Thus always read manufacturer recommended guideline instructions carefully.
True history: A famous kitchen appliances malfunction that occurred on October 4th, 1967 – Gaffers & Sattler wall ovens caught fire due to faulty wiring. This led to several homes being burned down across the United States causing fatalities too. As much as technology has progressed since then make sure you keep your ovens checked regularly by professionals for faults or recalls per Ikea dishwasher-safe symbols.
Speeding Up the Epoxy Cure Time
When in a hurry to cure epoxy, it is not advisable to put it in an oven. Instead, use a combination of heat and time to accelerate the curing process. Here is a step-by-step guide to speeding up the cure time of epoxy:
- Lower the temperature to a minimum of 80°F.
- Heat the surrounding air using a heater or heat gun.
- Use heat lamps or an incandescent light bulb to add heat to the epoxy surface.
- Cover the area with a tarp or plastic to retain the heat.
- Wait for the recommended cure time to elapse before handling the surface.
To avoid adversely affecting the epoxy properties, ensure that the drying temperature does not exceed the recommended level. Moreover, too much heat may create bubbles that can make the cured surface unusable. For the best results, follow the manufacturer’s guidelines when it comes to curing time, temperature, and mixing ratios. Finally, be patient once you’ve made the adjustments, as rushing the curing time may affect the quality of the end product.
Importance of Temperature and Sunlight
Maintaining an optimum temperature is critical for speeding up the epoxy cure time as well as ensuring proper adhesion between bonded surfaces. Sunlight can help heat up the environment and, in turn, increase the curing process; however, it is not the only factor that affects this process.
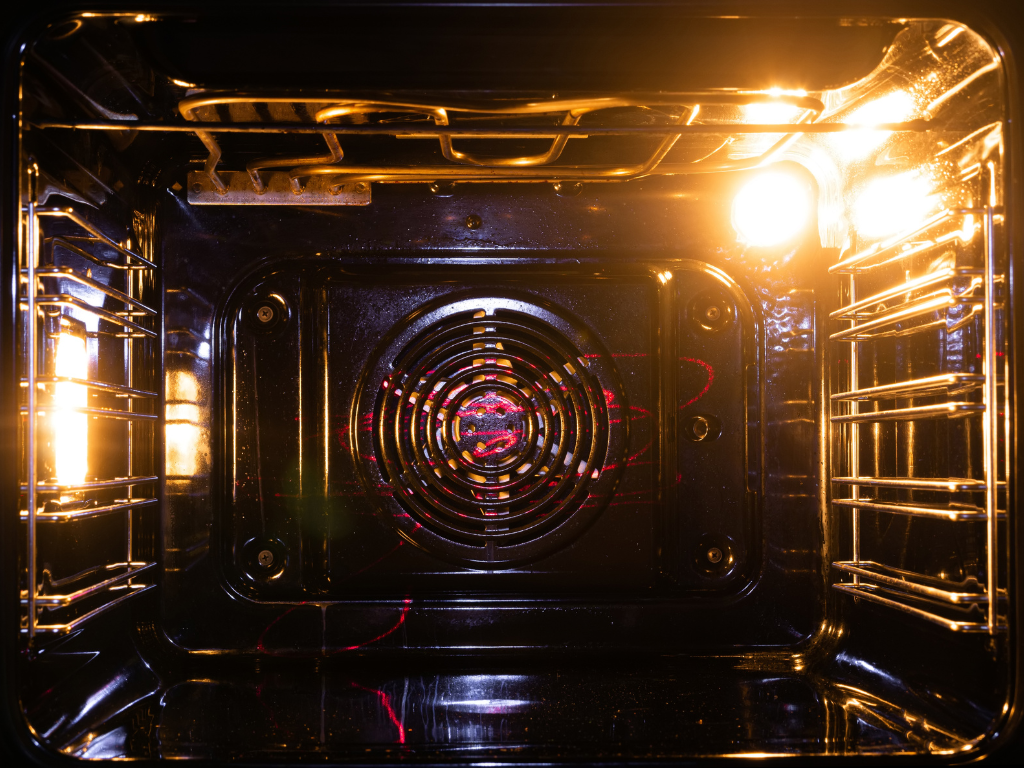
The temperature of the environment also plays a significant role in the curing of epoxy. The higher the temperature, the faster the curing process. For instance, putting resin in the oven can increase its cure time since ovens are designed to generate temperatures high enough to facilitate faster curing processes. Ovens with convection fan systems enhance this effect.
When it comes to sunlight as a factor affecting epoxy cure time, there are fewer available studies on its effects. However, anecdotal evidence indicates that exposing the epoxy to direct sunlight can be beneficial since it raises ambient temperatures without increasing moisture levels which could compromise adhesive performance.
Pro Tip: To save time and ensure consistency in your project’s results, consider investing in specialized heating equipment or utilizing an oven specifically designed for such purposes if you require frequent and consistent rapid curing of epoxy.
Manipulating Cure Time with Temperature
Manipulating Cure Time with Temperature
One way to change the amount of time it takes for resin to cure is by adjusting the temperature. You can heat up or cool down the environment, which can speed up or slow down the curing process.
At higher temperatures, the cure time will be shorter, while at lower temperatures, it will be longer.
| Temperature | Cure Time |
|---|---|
| 90°F (32°C) | 1 day |
| 104°F (40°C) | 12 hours |
| 122°F (50°C) | 6 hours |
| 140°F (60°C) | 4 hours |
It’s important to note that exposing resin to high temperatures for too long can cause damage to the material or discoloration. Always follow manufacturer instructions for safe usage of your specific brand and type of resin.
Make sure that you’re using an appropriate oven that is designed for heating resin. If you’re unsure about whether your oven works with resin curing, check its specifications or consult with an expert in this field.
Using an Oven for Epoxy Curing
Using an Oven for Epoxy Curing involves heating the resin in a controlled environment to deliver an even finish. This process provides a durable and tough coating that will withstand high temperatures. Below are the six steps required to use an oven for epoxy curing:
- Prepare the Oven: Preheat the oven to the desired level of temperature, depending on the instructions on the epoxy curing product.
- Prepare the Epoxy Resin: Mix the epoxy resin and hardener as per the instructions provided, and ensure that it is free of air bubbles.
- Apply the Epoxy Resin: Apply the mixture on the surface that requires coating and leave it to cure for at least 15 minutes.
- Cure in the Oven: Carefully place the item into the oven on a suitable baking tray or rack, and bake it for the recommended amount of time.
- Take out of the Oven and Allow to Cool: Remove the item from the oven and allow it to cool at room temperature until it is completely hardened.
- Clean up: Dispose of the baking tray or rack’s used and clean up your workspace with a suitable cleaning agent.
It is essential to note that some epoxy curing products require a specialized oven for curing, and not every oven will deliver the same results. Moreover, improper curing can lead to a weaker coating, resulting in more brittleness or a softer surface. Using an oven may also generate hazardous fumes, and therefore, proper ventilation should be ensured while using it. Epoxy curing in an oven has gained its popularity since the results are time-consuming but appreciated across the industry.
Two-Step Curing Systems
When dealing with two-step curing systems, there are a few key factors to keep in mind. It is important to allow sufficient time between each step for the material to fully cure before moving on. Additionally, the temperature and humidity of the curing area should be closely monitored and kept within recommended ranges.
Below is a table outlining some common two-step curing systems and their recommended curing times:
| Material | First Step Cure Time | Second Step Cure Time |
|---|---|---|
| Epoxy | 24-48 hours | 7 days |
| Polyurethane | 12-24 hours | 48-72 hours |
| Polyester Resin | 1-2 hours | 24-48 hours |
It is worth noting that these times may vary depending on the specific product being used and its application method.
Pro tip: Always consult the manufacturer’s recommendations for the best results when working with two-step curing systems.
Low Temperature Recommendations
Cooking at lower temperatures is recommended for certain dishes in convection ovens. This can be beneficial when preparing delicate foods, as they can cook evenly and quickly. Additionally, cooking at lower temperatures can help preserve the texture of food, prevent drying out, and retain more nutrients. However, it is important to note that prolonged cooking at extremely low temperatures can produce tough meat and other undesirable outcomes.
Dangers of Overheating Resin
When resin is exposed to high temperatures, it can become dangerous to the user and even combustible. It is crucial to avoid overheating resin to prevent injuries and accidents. Using a convection oven can distribute heat evenly, but it is essential to ensure that the oven fan is not continuously running, as it can cause resin to cure unevenly.
Make sure to follow the manufacturer’s instructions for curing times and temperatures. If an oven smells like lighter fluid, it is crucial to turn off the oven and ventilate the area immediately. In case of any doubt, seek professional advice to avoid any risks.
Conclusion: Yes
When it comes to putting resin in the oven, the answer is a resounding Yes. Resin can be hardened by baking it in the oven. It is a common practice, especially when working with small objects like jewelry. Placing the resin in the oven at a specific temperature for a specific period helps it set and gives it its final form. However, it is important to follow the manufacturer’s instructions and use a proper oven. Avoid using a microwave or toaster oven for this purpose.
Baking resin in the oven is a simple process. Start by preparing your resin mix, as per the instructions. Preheat your oven as per the resin manufacturer’s instructions. Lay down some parchment paper on a baking sheet and place your resin objects on it. Then carefully insert the sheet inside the oven and bake it for the recommended time. Once done, take it out and let it cool.
It is imperative to note that using a convection oven is not advisable, as it may interfere with the curing process. Avoid using a fan-forced setting, as the fan will blow air directly onto the resin object, leading to uneven hardening or formation of bubbles.
Pro Tip: Always wear gloves when handling resin, as it can be toxic. Also, ensure that your workspace is well-ventilated and free from impurities that may settle on the resin.
Five Facts About Putting Resin In The Oven:
- ✅ Putting resin in the oven can be done, but it requires careful preparation to avoid toxic fumes. (Source: Resin Obsession)
- ✅ Resin can be cured in the oven at low temperatures, typically around 150-170 degrees Fahrenheit. (Source: ArtResin)
- ✅ Heat can cause resin to yellow, so it’s important to monitor the temperature carefully and avoid prolonged exposure. (Source: The Spruce Crafts)
- ✅ Resin curing in the oven may result in uneven hardening, so it’s important to rotate the pieces and check frequently. (Source: Resin Crafts Blog)
- ✅ It is generally recommended to use a heat gun or torch to cure resin rather than the oven, as it provides more control and avoids the risk of fumes. (Source: Resin Obsession)
FAQs about Can You Put Resin In The Oven
Can you put resin in the oven?
Yes, you can put resin in the oven, but it is important to follow the manufacturer’s instructions and use a properly ventilated area. Some may require a specific temperature and time range, while others may not be safe for oven use at all.
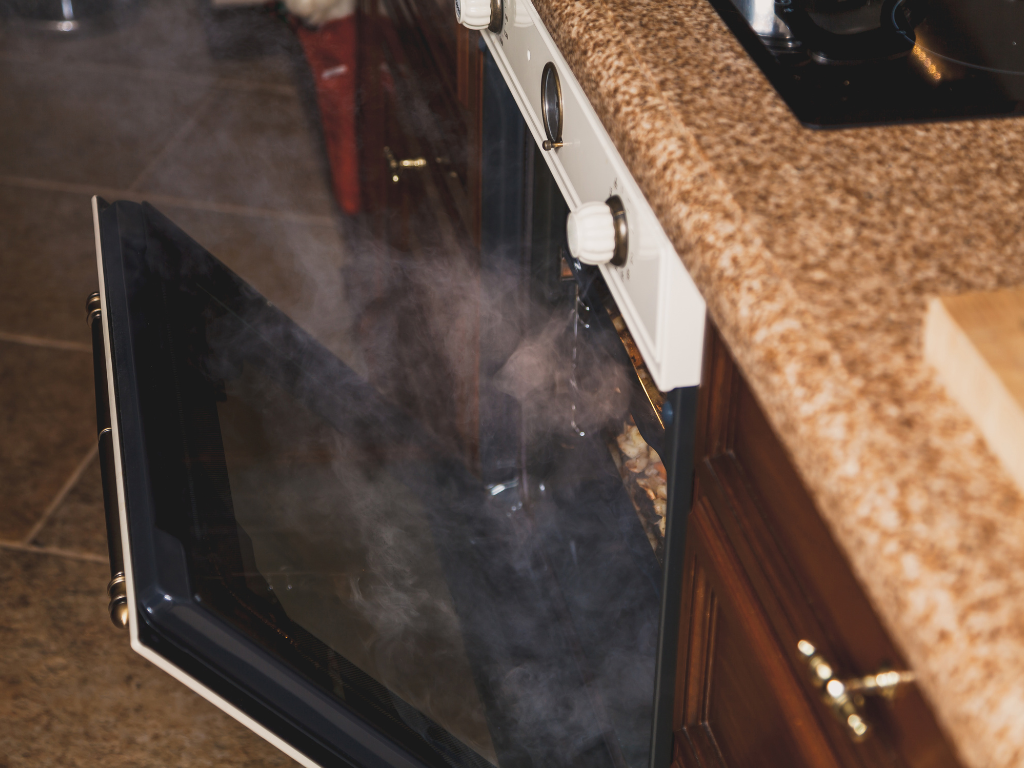
Why does my electric oven smell like lighter fluid?
If your electric oven smells like lighter fluid, it may be due to a gas leak or a malfunction in the ignition system. It is crucial to turn it off immediately and contact a licensed professional to diagnose and fix the issue.
Is Revere Ware safe?
Yes, Revere Ware is safe to use in the oven as long as it is designed for oven use, and you follow the manufacturer’s instructions. However, some older models may contain lead-based paints, which may not be safe for cooking.
How do you clean exploded glass in the oven?
To clean exploded glass in the oven, wear protective gloves, remove all the large pieces, and vacuum any remaining debris. Then, mix water and baking soda to make a paste, spread it over the affected area, and let it sit before wiping it with a damp cloth.
How long can an oven stay on?
An oven should only stay on for the required cooking time as stated in the recipe. Leaving it on for extended periods may cause the food to burn, damage the oven, or create a fire hazard.
Can you clean an oven with bleach?
No, you should not clean an oven with bleach as it can damage the enamel or stainless-steel surfaces and release harmful fumes. Instead, use a commercial oven cleaner or make a natural, non-toxic solution with vinegar and baking soda.