If you’re looking for a natural alternative to store-bought lotion, making your own homemade lotion is easier than you might think. With a handful of ingredients and a little bit of time, you can create a nourishing and moisturizing lotion that’s free of harmful chemicals and preservatives. Let’s take a look at the simple steps you’ll need to follow to make your own homemade lotion.
Gather Your Ingredients: What You Need to Make Homemade Lotion
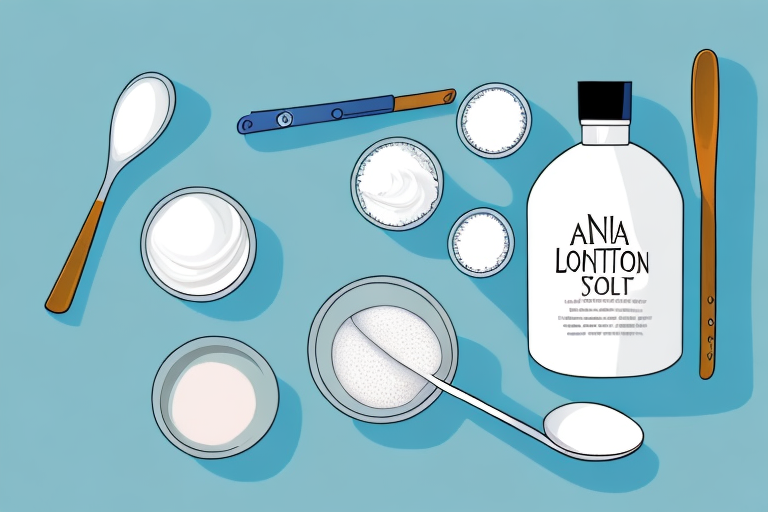
The first step in making homemade lotion is to gather all the necessary ingredients. You’ll need a few oils, waxes, and butters to create a rich and creamy lotion that deeply moisturizes your skin. Some of the most common ingredients in homemade lotions include:
- Shea butter
- Cocoa butter
- Almond oil
- Coconut oil
- Beeswax
- Vitamin E oil
Once you’ve gathered all of your ingredients, it’s time to move on to the next step.
It’s important to note that the quality of your ingredients will greatly affect the final product. When selecting your oils, waxes, and butters, look for high-quality, organic options. This will ensure that your homemade lotion is free from harmful chemicals and additives, and will provide the best possible benefits for your skin.
Understanding the Benefits of Homemade Lotion: Why It’s Worth Making
There are many benefits of making your own homemade lotion. Not only are you able to control exactly what goes into your product, but you’ll also be avoiding harmful chemicals and preservatives commonly found in store-bought lotions.
Homemade lotion is typically made with natural ingredients that are gentle on your skin, and can be customized to your specific needs. By making your own lotion, you can create a product that’s tailored to your skin type and preferences.
In addition to being able to customize your lotion, making your own also allows you to save money in the long run. While the initial investment in ingredients may seem expensive, you’ll be able to make multiple batches of lotion with those same ingredients, ultimately saving you money compared to buying store-bought lotions.
Another benefit of homemade lotion is that it’s a more sustainable option. By making your own products, you’re reducing the amount of plastic packaging and waste that comes with buying pre-made lotions. You can also choose to use organic and locally sourced ingredients, further reducing your environmental impact.
Step-by-Step Guide: How to Make Homemade Lotion in 5 Easy Steps
Now that you understand the benefits of homemade lotion and have all of your ingredients ready, let’s move on to the step-by-step process of making your own lotion:
Step 1: Melt Your Ingredients
Add your oils, butter, and beeswax to a heat-safe container, and place it in a saucepan with a few inches of water. Heat the water over medium heat, stirring the ingredients occasionally, until everything is melted and combined.
Step 2: Cool the Mixture
Remove the container from the heat, and allow it to cool until it’s room temperature. This step is important to ensure that your lotion has a smooth and creamy texture.
Step 3: Blend the Mixture
Using a hand mixer or a blender, blend the cooled mixture until it’s light and fluffy. This step is crucial in creating a lotion that’s smooth and easy to apply.
Step 4: Add Your Fragrance (Optional)
If you want to add a fragrance to your lotion, now is the time to do it. You can use essential oils, fragrance oils, or natural extracts to create a scent that you love.
Step 5: Store Your Lotion
Transfer your lotion to a clean, airtight container, and store it in a cool, dark place. Your homemade lotion should last for several months if stored properly.
Now that you have successfully made your own homemade lotion, it’s important to know how to use it effectively. Apply the lotion to your skin after showering or bathing, when your skin is still slightly damp. This will help lock in moisture and keep your skin hydrated throughout the day.
Additionally, you can customize your homemade lotion to meet your specific skincare needs. For example, if you have dry skin, you can add more moisturizing ingredients like shea butter or coconut oil. If you have oily skin, you can use lighter oils like grapeseed or jojoba oil.
Tips and Tricks for Making Perfect Homemade Lotion Every Time
While making homemade lotion is a relatively simple process, there are a few tips and tricks that can help you achieve the perfect texture and consistency:
- Use a digital kitchen scale to measure your ingredients accurately.
- Add your beeswax slowly to avoid clumps.
- Use a blender to create a smooth and creamy texture.
- Experiment with different oils and butters to create a lotion that suits your needs.
Another important tip to keep in mind is to always use clean and sterilized equipment when making homemade lotion. This will help prevent any bacteria or contaminants from getting into your lotion and causing it to spoil or become unsafe to use. Additionally, it’s a good idea to store your homemade lotion in a cool, dry place to help extend its shelf life and keep it fresh for longer. By following these tips and tricks, you can create the perfect homemade lotion every time.
Customize Your Lotion: Adding Fragrance and Other Additives
One of the best things about making homemade lotion is that you can customize it to your liking. You can add essential oils to create a relaxing or invigorating scent, or you can add other additives like aloe vera gel or colloidal oatmeal to create a product that’s specifically tailored to your skin’s needs.
When it comes to adding fragrance to your lotion, it’s important to choose essential oils that are safe for topical use. Some popular options include lavender, peppermint, and eucalyptus. You can also experiment with different combinations of oils to create a unique scent that you love.
If you’re looking to add additional benefits to your lotion, consider incorporating other additives like shea butter or vitamin E oil. These ingredients can help to moisturize and nourish your skin, leaving it feeling soft and smooth. Just be sure to do your research and choose ingredients that are safe and effective for your skin type.
How to Store Your Homemade Lotion to Keep It Fresh and Effective
Proper storage is important to keep your homemade lotion fresh and effective. Store your lotion in a cool, dark place, and avoid exposing it to direct sunlight or high temperatures. You can also add a natural preservative like vitamin E oil to extend the shelf life of your lotion.
It is also important to use clean and dry hands when applying the lotion to prevent contamination. If you notice any changes in the texture, color, or smell of your lotion, it may be a sign that it has gone bad and should be discarded. Additionally, make sure to label your lotion with the date it was made and the expiration date, so you can keep track of its freshness.
Common Mistakes to Avoid When Making Homemade Lotion
While making homemade lotion is a straightforward process, there are a few common mistakes that you’ll want to avoid:
- Using too much beeswax, which can make your lotion thick and greasy.
- Not measuring your ingredients accurately, which can affect the texture and consistency of your lotion.
- Not blending your mixture long enough, which can result in a lotion that’s lumpy or gritty.
- Using low-quality ingredients, which can affect the overall quality and effectiveness of your lotion.
Another common mistake to avoid when making homemade lotion is not properly sterilizing your equipment. This can lead to contamination and spoilage of your lotion, which can cause skin irritation or infection. To avoid this, make sure to thoroughly clean and sanitize all of your equipment before use.
Additionally, using too much fragrance or essential oils can also be a mistake. While these can add a pleasant scent to your lotion, using too much can cause skin irritation or allergic reactions. It’s important to use these ingredients in moderation and to test the lotion on a small patch of skin before using it all over your body.
How to Troubleshoot Common Issues When Making Homemade Lotion
If you run into any issues when making your homemade lotion, there are a few simple troubleshooting tips that can help:
- If your lotion is too thick, try adding a little more oil to thin it out.
- If your lotion is too thin, try adding a little more beeswax to thicken it up.
- If your lotion is gritty or lumpy, try blending it for a longer period of time or straining it through a fine-mesh sieve.
Switching to Natural Ingredients: Why Homemade Lotion is Better for Your Skin
If you’re looking to switch to natural skincare products, making your own homemade lotion is a great place to start. By using natural ingredients like shea butter, coconut oil, and vitamin E oil, you can nourish and moisturize your skin without exposing it to harsh chemicals or preservatives.
In addition to being better for your skin, making your own homemade lotion is also a fun and rewarding DIY project. By following the simple steps outlined above, you can create a product that’s personalized to your needs and preferences, and enjoy the benefits of healthy, glowing skin.


