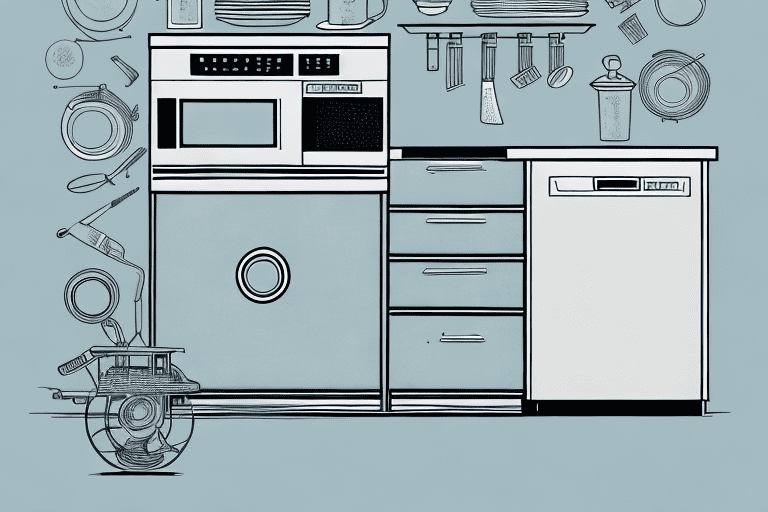
If you’ve recently purchased a KitchenAid dishwasher, you may be feeling a bit overwhelmed about how to properly use it! Don’t worry, it’s not as difficult as it may seem. This quick start guide will give you all of the information you need to get your dishwasher up and running in no time!
Unpacking your KitchenAid Dishwasher
Be sure to inspect the dishwasher for any visible damage. If any damage is found, contact the store you purchased the dishwasher from for further instructions. Remove the twist ties and packaging material and locate the user manual and all necessary installation hardware. Read through the user manual to become familiar with your KitchenAid dishwasher’s features and operating instructions.
Before beginning the installation process, make sure you have all the necessary tools and supplies. You will need a Phillips head screwdriver, adjustable wrench, and a level. Additionally, you may need to purchase a water supply line and power cord if they are not included with the dishwasher. Once you have all the necessary tools and supplies, you can begin the installation process.
Preparing for Installation
Installation of your KitchenAid dishwasher should be done by a qualified professional, either provided by KitchenAid or hired by you. Make sure the power source and water supply coming into the dishwasher both meet or exceed the specifications located in the user manual. Confirm that the drainage system also meets these specifications, or provide additional plumbing as necessary.
Before installation, make sure to measure the space where the dishwasher will be installed. This will ensure that the dishwasher fits properly and that all necessary connections can be made. Additionally, it is important to check the floor for any signs of damage or weakness that could be caused by the weight of the dishwasher. If necessary, reinforce the floor before installation.
Connecting to a Water Source
Once the electrical and water lines have been connected to the dishwasher, inspect for leaks before turning it on. If all looks secure, turn on the main water supply and turn on the power by pressing and holding the POWER button for 3 seconds before releasing. The STANDBY light should be illuminated, indicating that all power is being supplied correctly.
Connecting to an Electrical Outlet
Carefully secure the power cable from your wall outlet to your KitchenAid dishwasher and ensure that it is connected correctly and tightly. Test that the power is working correctly by pressing and holding the POWER button for 3 seconds before releasing. If the STANDBY light illuminates, you are ready to begin using your KitchenAid dishwasher!
Loading the Dishwasher
Loading your dishwasher correctly is essential to getting good results. Be sure to read through the user manual for information on loading your dishes appropriately. It is also important to make sure that items are not blocking the spray arms, as this can affect how well the dishwasher cleans its contents. Make sure to not overfill your dishwasher, as this can lead to poor cleaning results and damage to the dishwasher.
Selecting the Appropriate Cycle
The type of cycle you choose will depend on what type of dishes you are washing, as well as their level of dirtiness. Each cycle has a different temperature and length of time to allow for different levels of soil removal. Refer to your user manual for more information on selecting the appropriate cycle for your dishes.
Using Detergent and Rinse Aid
Adding detergent and rinse aid is an important step in ensuring that your dishes come out clean and sparkling. Detergent helps break down food particles on dishes while rinse aid helps prevent water spots and streaks. Be sure to use only detergents and rinse aids that are specifically made for use in a dishwasher, as using other types may result in poor cleaning results.
Running the Dishwasher Cycle
Once your dishes have been properly loaded and all necessary detergents have been added, choose your cycle and press start. Your KitchenAid dishwasher will now begin its wash cycle. Depending on the type of cycle you selected, it may take anywhere from 45 minutes to several hours to complete its cycle.
Cleaning the Exterior of Your KitchenAid Dishwasher
Cleaning the exterior of your dishwasher is important in maintaining a nice appearance. Start by wiping down any exterior surfaces with a damp cloth or sponge. Be sure to avoid using any abrasive cleansers or cloths as this could damage the finish of your dishwasher. Periodically check and clean any filters that may be present inside your dishwasher.
Troubleshooting Common Problems
If your KitchenAid dishwasher is not performing as expected, there are a few steps you can take to troubleshoot it. First, be sure to check all connections between the unit and its power and water sources. Also, confirm that all filters inside the dishwasher are clear and unobstructed. If you are still having issues, contact KitchenAid customer service for further assistance.
By following all of these steps, you will now have a thorough understanding of how to use your KitchenAid dishwasher! You should now be confident in getting cleaning results that will make you proud!


