When it comes to baking and cooking, precise measurements are crucial in achieving the perfect result. If you own a KitchenAid mixer, understanding how to measure ingredients properly is even more important. In this article, we’ll cover the different types of KitchenAid mixers and their capabilities, the basic parts of a KitchenAid mixer and their functions, measuring techniques for both dry and wet ingredients, and common mistakes to avoid when measuring with your KitchenAid mixer.
The Importance of Accurate Measurements in Baking and Cooking
If you’ve ever tried to bake a cake or cook a meal, only to have it come out wrong, you know the importance of accurate measurements. Even slight variations in your measurements can have a big effect on the final product. For example, if you accidentally add too much baking powder to your cake, it may rise too much and then collapse. On the other hand, if you don’t add enough salt to your stew, it may taste bland.
Accurate measurements are especially important when it comes to baking, where ingredients need to be precisely measured in order to achieve the desired texture and flavor. For instance, if you’re making macarons, the ratio of almond flour to powdered sugar needs to be exact in order to achieve the perfect texture. Similarly, if you’re making bread, the amount of yeast you use can make a big difference in how the bread rises and its final texture.
It’s not just baking where accurate measurements are important, though. In cooking, too much or too little of an ingredient can throw off the balance of flavors in a dish. For example, if you’re making a tomato sauce, adding too much garlic can overpower the other flavors, while not adding enough can make the sauce taste bland. Similarly, if you’re making a salad dressing, too much vinegar can make it too tart, while too little can make it too oily.
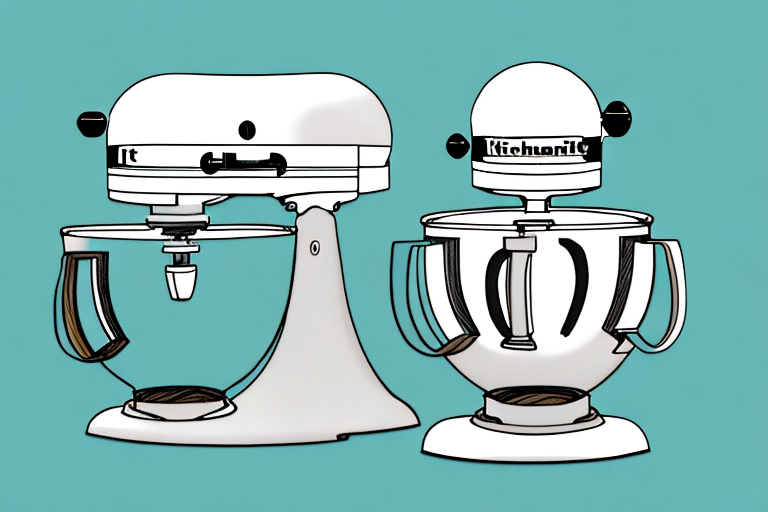
Different Types of KitchenAid Mixers and Their Capabilities
There are several types of KitchenAid mixers on the market, each with their own capabilities. The most popular type is the stand mixer, which has a stationary base and a mixing bowl that attaches to a mixing head. These mixers come in a range of sizes, from 3.5 quarts to 7 quarts, and can handle a variety of tasks, from mixing dough to whipping cream. There are also hand mixers, which are smaller and more portable, and commercial mixers, which are designed for heavier use in a professional setting.
In addition to the stand, hand, and commercial mixers, KitchenAid also offers specialty mixers for specific tasks. For example, the pasta roller and cutter attachment can be used with the stand mixer to make homemade pasta, while the ice cream maker attachment can be used to create delicious frozen treats. There are also attachments for grinding meat, making sausage, and even spiralizing vegetables. With the right attachment, a KitchenAid mixer can become a versatile kitchen tool for a wide range of cooking and baking needs.
The Basic Parts of a KitchenAid Mixer: Understanding Their Functions
Before we get into the specifics of measuring ingredients with your KitchenAid mixer, it’s important to understand the basic parts of the machine and their functions. The mixing head, which is attached to the top of the mixer, contains the motor and the gears that drive the attachments. The mixing bowl, which is attached to the base of the mixer, is where you’ll add your ingredients. The attachments, which include the paddle, whisk, and dough hook, are used to mix and knead your ingredients.
In addition to the basic parts of the KitchenAid mixer, there are also several optional attachments that can be purchased separately. These attachments include a pasta maker, a meat grinder, and a vegetable slicer. These attachments can greatly expand the functionality of your KitchenAid mixer and allow you to create a wider variety of dishes.
It’s also important to note that KitchenAid mixers come in a variety of sizes and colors. The most popular size is the 5-quart mixer, but there are also smaller and larger options available. Additionally, KitchenAid mixers come in a range of colors, from classic white and black to bright and bold shades like red and blue. Choosing the right size and color for your needs and preferences can make a big difference in your overall satisfaction with your KitchenAid mixer.
Measuring Cup vs. Kitchen Scale: Which is Better?
When it comes to measuring ingredients with your KitchenAid mixer, you have two options: using a measuring cup or using a kitchen scale. Measuring cups are the most common method, but they are not always the most precise. A kitchen scale, on the other hand, allows for more accurate measurements, especially when it comes to measuring dry ingredients.
However, measuring cups are still useful for measuring liquids, as kitchen scales are not designed to accurately measure fluids. Measuring cups are also more convenient for measuring small amounts of ingredients, such as a teaspoon of salt or a tablespoon of sugar.
Another advantage of using a kitchen scale is that it allows for easier recipe scaling. If a recipe calls for 1 cup of flour, it can be difficult to accurately measure out half a cup or a quarter cup. With a kitchen scale, you can simply weigh out the desired amount of flour, regardless of the original measurement.
How to Properly Measure Dry Ingredients with Your KitchenAid Mixer
When measuring dry ingredients, it’s important to use the proper technique to ensure accuracy. Start by lightly spooning your ingredient into a measuring cup, then level it off with a straight edge. Do not pack the ingredients into the measuring cup, as this will result in too much of the ingredient. If you’re using a kitchen scale, make sure to zero out the scale before weighing your ingredient.
Another important tip to keep in mind when measuring dry ingredients with your KitchenAid mixer is to use the correct measuring cup. Different ingredients require different measuring cups, such as a liquid measuring cup for liquids and a dry measuring cup for dry ingredients. Using the wrong measuring cup can result in inaccurate measurements and affect the outcome of your recipe.
It’s also important to note that the temperature and humidity of your kitchen can affect the measurement of dry ingredients. For example, if you’re measuring flour on a humid day, it may be more compact and result in too much flour being added to your recipe. To avoid this, store your dry ingredients in a cool, dry place and measure them when they’re at room temperature.
Tips for Measuring Wet Ingredients with Your KitchenAid Mixer
Measuring wet ingredients with a measuring cup can be more challenging, as the ingredient may stick to the sides of the cup. To avoid this, use a measuring cup with a pour spout and be sure to measure at eye level. You can also use a kitchen scale to measure wet ingredients, which may be more precise.
Another helpful tip for measuring wet ingredients with your KitchenAid mixer is to use a liquid measuring cup instead of a dry measuring cup. Liquid measuring cups are designed to be filled to the brim, which makes it easier to measure liquids accurately. Additionally, if you need to measure a small amount of liquid, you can use a tablespoon or teaspoon measure instead of a full cup measure.
Using the Tare Function on Your Kitchen Scale for Precise Measurements
One of the benefits of using a kitchen scale is the ability to use the tare function. This allows you to zero out the weight of the measuring container before weighing your ingredient, which can save time and ensure accurate measurements. To use the tare function, simply place your measuring cup or bowl on the scale and press the tare button.
Converting Recipes to Different Measurement Units for Your KitchenAid Mixer
If you come across a recipe that uses a different measurement unit than what you’re used to, you can easily convert it using a conversion chart. For example, if a recipe calls for 1 cup of flour, you can convert it to grams or ounces using a chart. Keep in mind that converting a recipe can affect the final product, so it’s best to test the recipe before serving it to guests.
Common Mistakes to Avoid When Measuring Ingredients with Your KitchenAid Mixer
Finally, it’s important to be aware of common mistakes when measuring ingredients with your KitchenAid mixer. Some of these include not double-checking your measurements, using the wrong measuring tool, and not calibrating your kitchen scale. By being aware of these mistakes, you can avoid them and achieve more consistent results in your cooking and baking.
Conclusion
Understanding how to measure ingredients with your KitchenAid mixer is an important step in achieving the perfect result in your cooking and baking. By using the proper techniques, tools, and conversions, you can ensure accuracy and avoid common mistakes. With a little practice and attention to detail, your KitchenAid mixer can become your go-to appliance in the kitchen, helping you create delicious meals and desserts that will impress your friends and family.


