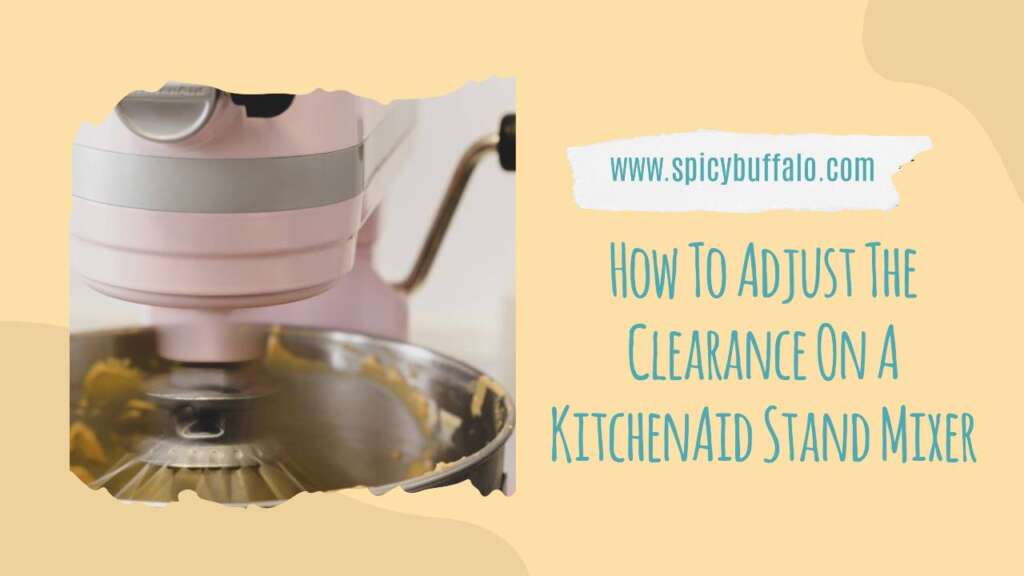
If you are like most people, you have a KitchenAid Stand Mixer at home. These days many people are either looking for one or use them regularly in the kitchen. But what about that clearance between the bowl and head? Did you know that you could adjust the clearance to give your mixer more power or less power? Or maybe change it just a little bit so your mixer will be safer while operating at high speeds? Here is how to do this!
Adjusted Clearance on a KitchenAid Stand Mixer: What You Need To Know
“We’re not rolling out… we’re rolling up!” The old adage “those who can’t do, teach” holds true. And in the case of KitchenAid stand mixers, we’re talking about teaching. KitchenAid’s Home Appliances Instruction and Clearance (HACI) program offers a valuable service to their users.
They have created a video that demonstrates how to adjust the clearance on your stand mixer. The video is twenty minutes long and shows you how to level out the bowl so that it sits on the head properly, without slipping off or causing any damage to the machine itself. In this article we will cover some of the basic terms that are used in HACI’s videos. Then, we will summarize the video for you.
Step 1: The Proper Way to Measure Your Stand Mixer’s Clearance
The first thing you need to do is measure the height of your stand mixer while it’s turned on. To do this, you need to set the head and bowl in place. Line up all of the gears, put on the lid, and turn it on. After a few seconds, take a tape measure and measure from the top of head all the way down to wherever your bowl is at while it’s sitting on top. It doesn’t matter how much your clearance is off by now; you just need to get an idea where it needs put into place. When you’re done, write down your measurements.
Step 2: Leveling Out the Bowl
Once you have a measurement, it’s time to check the leveling out process. First, check whether or not the rollers and gears are lined up correctly. If there is no physical damage to either of these pieces, then everything should be in place. To check this out for yourself, just push the bowl around as if it were mixing something up; if everything’s working well then things will turn smoothly and without hesitation.
Once you’ve made sure that your gears are lined up correctly, then look at your bowl and see how much clearance it has above the head of the mixer. We are assuming that your bowl is not damaged and that there isn’t another piece of equipment between it and the head. If both these things are true, then you should check to see if the gear that sits on top of the bowl is sitting flush with or above the bowl itself. If it’s not, then you will need to use an adjustable mechanism or tool to put it level.
Look at the image below which shows a level piece of wood:
If you look closely, you can see how my wooden rake fits into my stand mixer’s clearance. This allows me to adjust the level until everything lines up correctly. If your stand mixer doesn’t have that kind of mechanism, you can use something similar to my wooden rake. If all else fails, you can purchase something like this in a store and adjust the level of your bowl yourself.
We hope that this article helps you decide which route to take to get your KitchenAid stand mixer repaired!
Step 3: Setting Up Your Clearance
With the clearances checked and adjusted, it’s time to move on! In order to set up your bowl clearance properly, there are a few steps you will need to follow. As we stated above, there are many different parts that go into making sure your bowl sits nicely on top of the head. Your bowl should sit at a height where when the gears turn, they turn smoothly and without any problems.
To do this, you will have to use either an adjustable mechanism like my wooden rake above or maybe even a small screw driver. Here are some of the parts that will be involved:
1. The Head: You will need to put this in place for your bowl to sit on top of. When placing the head back onto your mixer, make sure that all of the gears are properly aligned and in place so it can run well again. If you have to dismantle your equipment piece by piece and put everything back into its proper place, then follow these instructions from TheKitchenAidShop.
2. The Motor: This is the part that actually turns your mixer and moves the bowls around. As we stated earlier, if your bowl is not sitting properly on top of it, you could have a problem. To check out this step, take a look at the image below.
This shows how the gears should all be aligned perfectly so that they don’t interfere with each other and cause your machine to go out of whack. Same goes for the rubber gasket at the bottom of the bowl, which keeps everything in place and prevents pieces from falling off when you’re moving it around.
3. The Bowl: This is the part that you will move around and adjust until everything is placed in the right spot. You can check out TheKitchenAidShop again for some great images and tips on how to level this out properly. Of course, we have also covered some of these steps in our guide above.
4. The Bowl Grip: If your bowl has a handle grip, then you will need to make sure it can rotate evenly and smooth in order for your mixer to work. Be sure not to skip over this step!
5. The Bowl Lock: Another critical part is the bowl lock. It allows you to put your bowl on and take it off the head of your mixer at will. This makes sure that you can’t accidentally knock your bowl over or mess with it in any other way. If this doesn’t turn, then you might have a problem that needs fixing.
6. The Rollers & Gears: These are the gears that allow for movement at all four corners of the bowl and its contents. Here are some great images so you can see how these fit together properly.
7. The Top Portion & Drums: This is the part where everything comes together and where everything was put on originally… it is not the same as the image above. If you want to learn more about the different pieces involved in setting up your bowl clearance, check out this lovely video from TheKitchenAidShop.
Step 4: Adjusting Your Clearance
Now that you have everything set up properly and know how to adjust and place it all, it’s time to get back to work. It’s time for you to actually start moving it around and adjusting your machine! First off, take note of where the bowl lock is located. Here are some helpful images showing the location of this piece on a KitchenAid Stand Mixer.
Then, put the machine onto its detachable base. Here are images of this process:
You may see that there is a disc or cover on the machine. This is the bowl lock and it needs to be in place before moving on.
1. Place the handle grip up against the back of the bowl and turn so that it sits between the lock and the head of your mixer.
2. Now, shift your bowl around so that you can make sure all four corners are at least touching each other and then loosen up all four bolts (which can vary depending on which model you have). You may need to turn each bolt a tiny bit at a time in order for them to slide out far enough for you to get a good look at where they go. This is the part when things get a little tricky, so be patient and try to do it carefully.
3. Look at your disc again and note the position of all four bolts. The head of your machine will have a series of holes where these bolts are meant to go into place. You will have to put them back in the original spot as you remove them from your mixer- otherwise it won’t work!
4. Put each bolt back in its place, loosely tighten them and then test the level of your machine by moving the bowl around a bit. Take note of where any problems might be and fix them accordingly before putting it back together again!
5. Once you are satisfied, adjust your bowl lock in place and then put the plastic disc back on top of it. You’re done! Now, try it out and see if your machine is running any better than before!
6. Note that this entire process can take up to three hours to complete. Be aware of this so you know what to expect when going through it yourself!
As you can see, the process for setting up your bowl clearance on a KitchenAid Stand Mixer can be a lot of work. But by doing it properly, your machine will last much longer and will provide you with many years of useful service.
What is the best KitchenAid mixer for the price?
The KitchenAid K5 Easy-Start Stand Mixer is the best mixer for beginners and is great for people who want to save money. This machine comes with 1400 watt of power and has a rotating beater, stainless steel bowl and a dough hook. If you’re looking to spend less but still get a high quality machine this is your best option.
In my opinion, the most important part of any stand mixer is the bowl, it doesn’t matter what else it has. If your bowl wears out first then your mixer will as well. You also can’t beat the quality and price of a KitchenAid. They are one of the best that you can buy.
What is the best KitchenAid stand mixer?
The most popular and recognizable stand mixers on the market today are from KitchenAid, just like everything else they make is top-tier. People love their mixers and they get used in kitchens all over the world by professional chefs, cooks, bakers, and home enthusiasts.
Most stand mixers have only a few basic features. But even in that case, they have some really useful ones. They come in different price ranges and can be found at some of the better retailers and on websites like Amazon.
KSM150PS is a small mixer with very little power, but that is not necessarily a bad thing for most people. You need to know what exact size of pieces you will be mixing so you can get the right mixer for you. If you are making cookies then yes, you could use this to mix your cookie dough, but if it is going to be mixing something large then it may not work well enough for your needs.
Is it worth buying a KitchenAid?
KitchenAid mixers are built to last. Let’s be honest here, the KitchenAid mixer is one of the best kitchen appliances that you could own. You can use this for your dough and make fresh bread, pizza dough and even homemade pasta! If you are looking for a mixer then go with a KitchenAid!
What is the best KitchenAid stand mixer?
I will have to say that I do love my 5 quart lift stand mixer, it is very easy to use and with 15 speeds you can use it for many different things. However I must say that I think my favorite machine is the Smores Ice Cream maker attachment.
It makes great ice cream and I love the fact that you can use it with a variety of other recipes besides just making ice cream. It comes with a few recipes, but I found plenty of recipes on the Internet to help me out. So this attachment really is quite versatile and gives you a lot more options than just desserts. I’m sure your family will have fun using it too!
What is the difference between a KitchenAid Classic mixer and an artisan?
These two are completely different, so the only difference is that one is a classic and the other a special, but they are great machines! If you want to know more about the differences between them, you can check out our article here. But if you don’t have time to read it right now then our recommendation is that you consider all of your options before settling on one.
What is the best KitchenAid mixers?
We have been through and tested many different mixer brands over the past 2 years. We have found some of the best and cheapest models out there. The price ranges from $100 all the way up to over $1000.
The following table shows our top 5 picks, but of course there are many other great mixers out there, so we really recommend that you do some research before deciding on a model.
We have found that the KitchenAid 5-Quart Artisan Stand Mixer is best for the average user. The price is fair and it has a lot of power for its size. So for the majority of people this would be the perfect choice! This review has more detail on how to manage your dough!
What is the best stand mixer?
Here at Customkitchenaids.com we aim to provide you with accurate and full details about any product available on our website. We have done extensive research and we have found the best KitchenAid stand mixer for the money. We found that for the price, performance and durability that the KitchenAid 5-Quart Artisan Tilt-Head Stand Mixer is a great buy! This item also makes a great Mother’s Day, Christmas or Birthday gift!
Of course, no one likes to read through dozens of product pages before they get to information on just one item they are interested in, so we have made this page to give you all of that info in just one place. This page will then lead you to the product page on our website where you can check out all of its features and specifications at your leisure.
Why are all the KitchenAid mixers out of stock?
This is a common question and we have been meaning to answer it for some time now! Sadly, it is because supply of the stand mixers is running out and the only thing that seems to stop the demand is that people are not ordering them.
The only way to stop this from happening again is by buying more stand mixers than you need. So here are a few tips to make sure you order a few of them! I know when we were trying to get one in the KitchenAid 5-Quart Artisan Tilt-Head Stand Mixer, we managed to get an OmniTough 2200 Watt Mixer for under $300. We couldn’t believe it, but for $1.
CONCLUSION:
That’s it! I hope that you have enjoyed that guide, and I look forward to seeing what you make up with one of these. If you have any questions then feel free to contact me via email or drop by on the KitchenAid Mixer forums. We’re a friendly bunch over there and we’d love to see you. In the meantime, there are plenty of other resources on the site, including our Amazon store link (you can find it below) where we carry some of our mixer accessories – if you’ve come here looking for something specific and can’t find it, then drop us a line! We’ll do our best to make sure you get what you need!


