Using an air fryer rack is a great way to make delicious, healthy, and quick meals. An air fryer is a kitchen appliance that circulates hot air around food, providing the same crispy texture and flavor that deep-fried foods have but with a fraction of the fat and calories. The rack is designed to help increase the cook time of your favorite fried food – plus you can easily fit multiple items. But how do you use an air fryer rack? Read on for a step-by-step guide.
What Is an Air Fryer Rack?
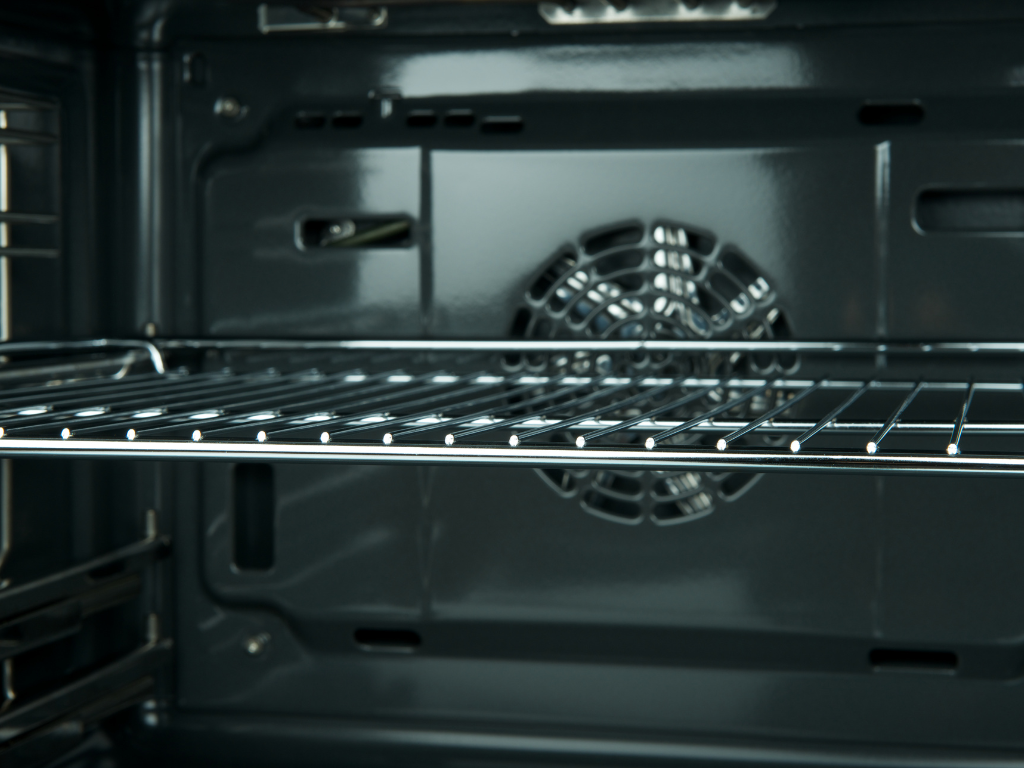
An air fryer rack is a metal tray that fits in the bottom of an air fryer. The design of the air fryer rack helps to evenly heat food and promotes better heat circulation. It also keeps food elevated above the bottom of the air fryer, so food cooks more evenly without sticking to the bottom or burning.
Air fryer racks are usually made of stainless steel or aluminum and come in a variety of sizes to fit different air fryer models. They are also dishwasher safe, making them easy to clean and maintain. Additionally, air fryer racks are designed to be non-stick, so food won’t stick to the surface and can be easily removed when finished cooking.
Benefits of Using an Air Fryer Rack
Using an air fryer rack gives you the benefits of a deep-fried taste without the added fat and calories. The rack helps to promote even heating, prevents food from burning, and cooks food faster and more evenly. You will also be able to cook multiple items at once and increase the cook time for larger pieces of food for a tastier and healthier meal.
Step 1: Place the Rack in the Air Fryer
Before you start cooking with your air fryer rack, make sure to take it out of the package and clean it thoroughly with hot soapy water. Once it’s clean and dry, place the rack in the bottom of your air fryer. Make sure the rack is securely in place before turning on the air fryer.
Step 2: Preheat the Air Fryer
Once you have placed the air fryer rack in your air fryer, it’s time to preheat the air fryer before you add your food. Depending on what type of food you are cooking, you will want to preheat the air fryer to the temperature recommended in your recipe instructions. Air frying usually takes about 1-2 minutes.
Step 3: Add Your Food to the Rack
Once the air fryer has preheated, it’s time to add your food to the rack. Place your food in a single layer so that it cooks evenly without sticking together. Leave enough space between the pieces of food so that they can cook more evenly. Depending on the size and quantity of food, you may need to cook in batches.
Step 4: Adjust Cooking Settings
Once you have added your food to the rack, use the timer or temperature setting on your air fryer to set the cooking time and temperature. Make sure to set a reminder so that you don’t overcook your food. If you are not sure how long your food should cook for, refer to your recipe instructions or use this handy guide:
- Frozen foods – 10 minutes at 390°F
- Vegetables – 8 minutes at 380°F
- Meats – 12 minutes at 420°F
Step 5: Monitor Your Food as It Cooks
Once you have set your cooking time and temperature, it’s important to monitor the food as it cooks. Make sure to check in on it periodically to ensure that it’s cooking evenly without burning. You may need to adjust the cooking time or temperature if needed.
Step 6: Remove Food and Enjoy!
When your food is cooked through, remove it with oven mitts or tongs and enjoy. Make sure to let the air fryer cool before attempting to remove the air fryer rack or clean up any messes.
Tips for Cooking with an Air Fryer Rack
Here are some additional tips to help you get perfect results every time when using an air fryer rack:
- Make sure to place food in a single layer so that it cooks evenly.
- If you are cooking multiple batches of food, make sure to preheat the air fryer between batches.
- Check your food periodically to make sure it’s not burning or overcooking.
- Tongs work well for turning and removing food from the rack.
- Keep an eye on oil splatters when cooking with oil.
- If necessary, line the air fryer rack with parchment paper or foil for easier clean up.
- Always let the air fryer cool before attempting to remove the air fryer rack or cleaning up any messes.
Now that you know how to use an air fryer rack, you can start making delicious and healthy meals in no time! The possibilities are endless – enjoy experimenting and cooking up all new creations for your family or friends.

