Making dough without a mixer may seem like a daunting task to many, but it is actually quite simple if you follow the right steps. Not only is it a great way to get exercise for your arms, but it also allows you to have more control over the consistency of your dough. In this article, we will guide you on how to make dough without a mixer in a step-by-step process.
Why Make Dough Without a Mixer?
There are many reasons why you would want to make dough without a mixer. One of the most common reasons is the lack of a mixer. However, there are other benefits to making dough by hand as well. It allows you to have more control over the consistency of the dough, and you can add ingredients as you go along. Additionally, making dough by hand can be a great workout for your arms, and it can be a meditative process.
Another benefit of making dough without a mixer is that it can be a more cost-effective option. Mixers can be expensive, and if you only make dough occasionally, it may not be worth the investment. Making dough by hand requires minimal equipment, and the ingredients are typically affordable and easy to find.
Finally, making dough by hand can be a fun and rewarding experience. It allows you to connect with the food you are making and appreciate the process of creating something from scratch. It can also be a great activity to do with friends or family, as everyone can take turns kneading the dough and adding ingredients.
The Benefits of Making Dough by Hand
When you make dough by hand, you develop a better feel for the dough. You can tell when the dough is properly hydrated and when it might need a bit more flour. It also allows you to control the temperature of the dough better than if you were using a machine. The process of kneading the dough also strengthens the gluten, resulting in a better texture and rise when baking.
In addition to the benefits mentioned above, making dough by hand can also be a therapeutic and relaxing activity. The repetitive motion of kneading can be meditative and help reduce stress. It can also be a fun activity to do with friends or family, as everyone can take turns kneading the dough and adding their own personal touch to the recipe.
Making dough by hand can also be a more sustainable option, as it doesn’t require electricity or any special equipment. This means you can make bread or other baked goods even during power outages or when camping. It also reduces the amount of waste generated from using a machine, such as plastic packaging or broken parts that need to be replaced.
What Tools Do You Need?
To make dough without a mixer, you will need a few basic tools. These include a mixing bowl, a bench scraper, measuring cups, measuring spoons, and a whisk. You will also need your hands, of course!
Additionally, if you are making a yeast-based dough, you will need a thermometer to ensure that the water you use to activate the yeast is at the correct temperature. A rolling pin and a pastry brush may also come in handy if you plan on rolling out the dough or brushing it with egg wash before baking.
Choosing the Right Ingredients
Choosing the right ingredients is crucial when making dough. Always use fresh ingredients, and measure them out carefully. You will need flour, water, salt, and yeast. Make sure you choose the right type of flour and yeast for the recipe you are making.
It’s important to note that the quality of your ingredients will also affect the final product. Using high-quality flour and yeast will result in a better tasting and textured dough. Additionally, consider using filtered water to avoid any impurities that may affect the dough’s flavor. Don’t be afraid to experiment with different types of flour and yeast to find the perfect combination for your recipe.
How to Measure Ingredients Accurately
When measuring ingredients for dough, it is important to be accurate. Use measuring cups and spoons to measure out the flour, water, and salt. For yeast, use a kitchen scale to measure it by weight. Always follow the recipe instructions carefully to ensure your dough turns out as intended.
Another important tip for measuring ingredients accurately is to make sure you are using the correct measuring tools. For example, a tablespoon used for eating is not the same as a tablespoon used for measuring ingredients. Using the wrong measuring tool can result in inaccurate measurements and affect the outcome of your recipe.
It is also important to properly level off dry ingredients when measuring them. Use a straight edge, such as a knife or spatula, to level off the top of the measuring cup or spoon. This ensures that you are using the exact amount of ingredient called for in the recipe.
Kneading the Dough: Tips and Techniques
Kneading the dough is an important step in making dough without a mixer. It helps develop the gluten in the dough, resulting in a better texture and rise when baking. To knead the dough, place it on a clean, floured surface and fold it over onto itself. Use the heel of your hand to push the dough away from you, then fold it back over and repeat for several minutes.
One important tip to keep in mind while kneading the dough is to not overdo it. Over-kneading can actually break down the gluten strands and result in a tough, dense bread. It’s important to pay attention to the dough’s texture and stop kneading once it becomes smooth and elastic. Additionally, if you find that the dough is sticking to your hands or the surface, you can add a small amount of flour to prevent it from sticking too much.
How Long Should You Knead the Dough?
The amount of time you should knead the dough will depend on the recipe you are using. Generally, kneading the dough for 5-10 minutes should be sufficient for most recipes. However, some recipes may call for longer or shorter kneading times.
It’s important to pay attention to the texture of the dough while kneading. You want the dough to be smooth and elastic, which indicates that the gluten has developed properly. If the dough is still sticky or too tough after the recommended kneading time, you may need to adjust the amount of flour or water in the recipe.
Another factor to consider is the type of flour you are using. Different types of flour have different protein contents, which affects how much kneading is needed. For example, bread flour has a higher protein content than all-purpose flour, so it may require more kneading to develop the gluten properly.
Checking the Dough Consistency: What to Look For
As you knead the dough, it is important to check the consistency. You want the dough to be smooth and elastic. If the dough is too dry, it will be tough and difficult to work with. If the dough is too wet, it will stick to your hands and the surface you are working on. Adjust the consistency by adding more flour or water as needed.
Another important factor to consider when checking the dough consistency is the temperature of the dough. If the dough is too cold, it will be difficult to work with and may not rise properly. On the other hand, if the dough is too warm, it may become sticky and difficult to handle. It is important to let the dough rest at room temperature for a few minutes before kneading to ensure that it is at the right temperature.
Additionally, the type of flour used can also affect the dough consistency. Different types of flour have different protein contents, which can affect the gluten development in the dough. For example, bread flour has a higher protein content than all-purpose flour, which makes it ideal for bread making. It is important to use the right type of flour for the recipe to ensure that the dough has the right consistency and texture.
Troubleshooting Common Dough Problems
If you encounter problems with your dough, don’t panic! There are several common issues that can occur when making dough, such as the dough being too sticky or too dry. If the dough is too sticky, add more flour, and if it is too dry, add more water. If your bread doesn’t rise properly, it may be due to underkneading or using old yeast.
Different Types of Dough: Which One is Right for Your Recipe?
There are many types of dough, including bread dough, pizza dough, and pastry dough. Each type of dough requires different ingredients and techniques. Choose the recipe that fits your needs and follow the instructions carefully.
How to Store Your Homemade Dough
If you have leftover dough, you can store it in the refrigerator or freezer. Wrap the dough tightly in plastic wrap or store it in an airtight container. You can also freeze the dough for later use.
Tips for Baking Perfect Bread, Pizza, or Pastry from Your Homemade Dough
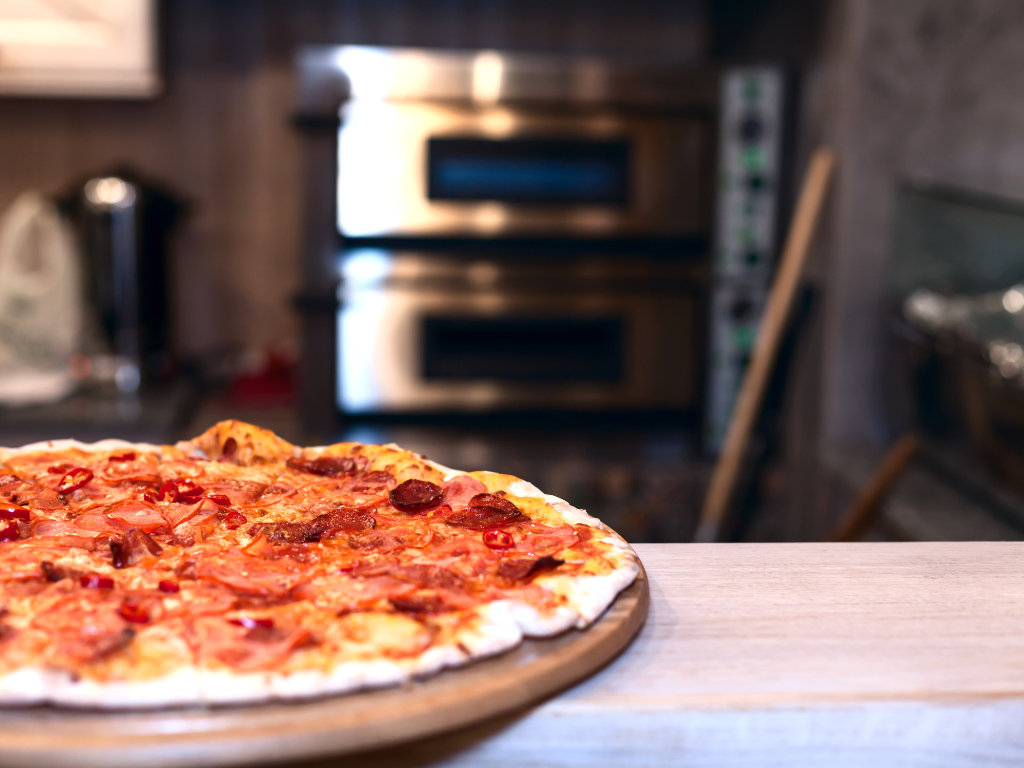
Once you have made your dough, it’s time to bake it! Follow the instructions carefully, and use high-quality ingredients. Make sure to preheat your oven properly and use the right baking temperature and time. Be patient and let the dough rise properly before baking. And most importantly, enjoy the fruits of your labor!

