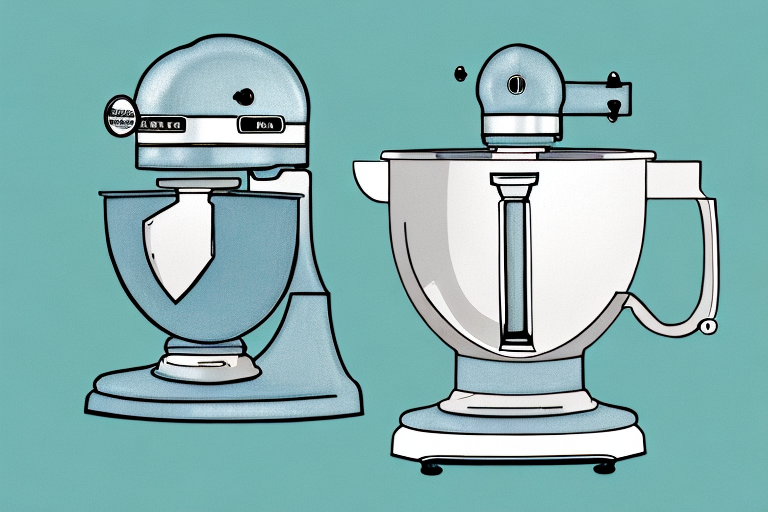
Greasing your KitchenAid mixer is an important step in maintaining its performance and longevity. This guide will walk you through the grease-lubing process step-by-step and provide tips to help you get the best results.
What Grease to Use for KitchenAid Mixers
The most important thing when it comes to greasing your KitchenAid mixer is ensuring that you use the right type of grease. KitchenAid recommends using white lithium or food-safe, silicone-based grease. It’s important to use food-grade grease in order to ensure that the grease doesn’t contaminate your food. You can find the correct grease at your local hardware store or purchase it online.
When applying the grease, make sure to use a clean cloth and apply a thin layer of grease to the moving parts of the mixer. Be sure to avoid getting any grease on the electrical components of the mixer. Additionally, it’s important to regularly check the grease levels and reapply as needed to ensure that your mixer is running smoothly.
Preparing the Mixer for Greasing
Before you get started, you’ll need to make sure that your mixer is clean and free of debris. If you’re using a stand mixer, you’ll need to remove the bowl from the stand. Then, you’ll want to remove the dough hook, whisk, and other attachments. Use a small soft brush to remove any dirt or debris from the interior of the mixer.
Once the mixer is clean, you’ll need to apply a thin layer of grease to the gears and other moving parts. Use a clean cloth to spread the grease evenly, and make sure to get into all the nooks and crannies. Once you’ve finished greasing the mixer, you can reassemble the bowl and attachments and you’re ready to start baking!
Applying Grease to the KitchenAid Mixer
Now that the mixer is clean and prepared, it’s time to begin greasing it. Start by taking a few pea-sized amounts of grease and beginning to spread it out evenly on the interior surfaces of the mixer. Be sure to get into all of the nooks and crannies so that you don’t miss any areas that need to be lubricated. Use a soft cloth or paper towel to wipe away any excess grease. You don’t need a lot of grease—just enough to lightly coat all surfaces.
Once you have applied the grease, you should check the mixer for any signs of wear or damage. If you notice any issues, it is best to replace the parts before continuing to use the mixer. Additionally, you should check the grease levels periodically to ensure that the mixer is properly lubricated. This will help to extend the life of the mixer and keep it running smoothly.
Wiping Off Excess Grease
Once you’ve applied the grease, use a clean cloth to wipe away any excess. This will help reduce the risk of a greasy mess. Make sure to pay attention to the area around the mixer attachments and the screws—you don’t want these areas to be too greasy.
When wiping off the excess grease, be sure to use a gentle, circular motion. This will help ensure that the grease is evenly distributed and that no excess is left behind. Additionally, make sure to use a clean cloth each time you wipe off the grease. This will help prevent any dirt or debris from getting into the grease and potentially damaging the mixer.
Storing Your Greased KitchenAid Mixer
After you’ve finished greasing your KitchenAid mixer, make sure to properly store it away. Make sure that it is stored in a dry area where temperatures remain steady—such as in a pantry, cupboard, or kitchen cabinet—and away from direct sunlight. This will help ensure that your mixer stays in good working order for many years.
Troubleshooting Common Issues with a KitchenAid Mixer
If the motor of your KitchenAid mixer starts to make noise or if something seems to be off when you’re mixing dough, it might be time for a maintenance check. Tighten any loose screws and remove dirt or debris that could be causing friction. After doing this, you may need to reapply grease to ensure everything is running properly.
Tips for Keeping Your KitchenAid Mixer in Good Working Order
In order to keep your KitchenAid mixer in good working order, it’s important that you regularly inspect and clean it. Grease should be reapplied at least once a year, depending on how often you use the mixer. Make sure you use the right type of grease and do not over grease or you could potentially cause harm to your mixer. Additionally, you’ll want to keep an eye on any loose screws and tighten them when necessary.
Greasing your KitchenAid mixer is a necessary part of maintaining it for optimal performance and longevity. If done correctly, you’ll maximize the life of your mixer and be able to enjoy great meals for many years.


