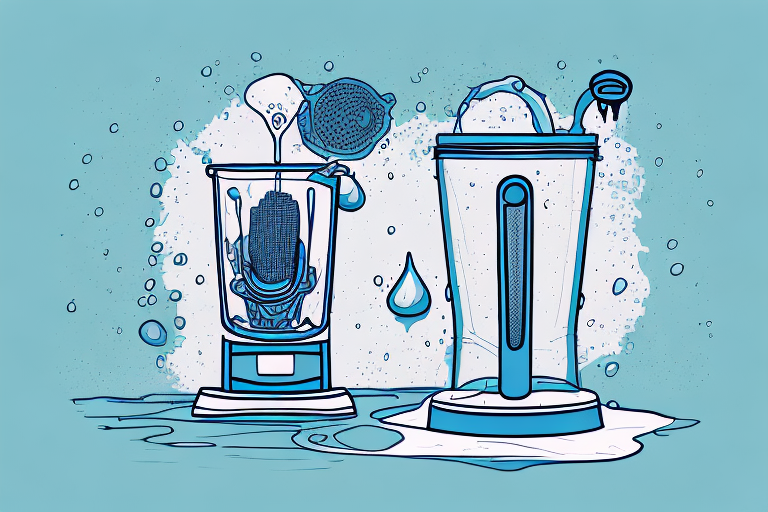
Blenders are an essential kitchen tool for those who love to whip up smoothies, juice, or delicious sauces. However, a leaking blender can be an issue that many people face. It can be frustrating to find that your blender has leaked onto the countertops or even worse, onto the floor. In this article, we will be discussing how to fix a blender leaking from the bottom. We will be covering everything from understanding the causes of the leaking to the tools required for fixing it.
Understanding the Causes of a Leaking Blender
The first step in fixing a blender that’s leaking from the bottom is to understand what causes the problem. One of the most common causes is a worn-out seal on the blade assembly. Over time, the seal can become brittle and cracked, causing a leak to occur. Another common cause is a loose or damaged blender jar base that doesn’t fit snugly onto the blade assembly. This can cause the contents of the blender to leak out from the bottom. Additionally, a cracked blender jar bottom can also lead to leaking issues.
Another possible cause of a leaking blender is a damaged or worn-out gasket. The gasket is a rubber ring that sits between the blade assembly and the blender jar. If the gasket is damaged or worn out, it can cause leaks to occur. It’s important to regularly check the gasket and replace it if necessary to prevent leaks.
In some cases, a leaking blender may be caused by overfilling the jar. When the jar is overfilled, the contents can overflow and leak out from the bottom. It’s important to follow the manufacturer’s instructions and only fill the jar to the recommended level to prevent leaks. Additionally, blending for too long or at too high of a speed can also cause the contents to leak out from the bottom of the blender.
Tools Required for Fixing a Leaking Blender
Before fixing a leaking blender, you’ll need some essential tools. This includes a screwdriver, pliers, and a replacement seal or blade assembly. It’s important to ensure that the tools you use are appropriate for your specific blender model.
Step-by-Step Guide to Fixing a Leaking Blender
Fixing a blender that’s leaking from the bottom may seem daunting, but with the right tools and a little patience, it can be done easily. Follow these steps for a smooth repair process:
- Unplug the blender and remove the blender jar from the base.
- Inspect the seal on the blade assembly for any cracks or imperfections. If it’s worn, you’ll need to replace it.
- Remove the blade assembly from the blender jar by turning it counterclockwise.
- Replace the old seal with a new one by sliding it onto the blade assembly in the correct position.
- Put the blade assembly back into the blender jar, aligning it correctly, and turning it clockwise to make it tight.
- If the blade assembly isn’t the issue, inspect the blender jar base for any damage and ensure it’s correctly fitted to the blender. If it’s loose or damaged, replace it.
- Place the blender jar back onto the base and turn it on to test if the leak has been fixed.
How to Determine if the Seals are Worn Out
If your blender is leaking and you’re unsure whether the blade assembly seal is causing the problem, use a visual inspection to determine whether it’s worn out or not. Look for cracks, splits, or other obvious signs of damage. If the seal appears to be brittle or old, it’s time to replace it.
How to Replace the Blade Assembly in Your Blender
Replacing the blade assembly in your blender is a relatively easy task. You’ll need to follow these steps:
- Unplug the blender and remove the blender jar from the base.
- Hold the blade assembly and turn it counterclockwise to remove it from the blender jar.
- Insert the new blade assembly into the blender jar, making sure it’s aligned correctly.
- Turn the blade assembly clockwise to make it tight.
- Put the blender jar back onto the base and turn it on to test if the blade assembly has been successfully replaced.
How to Tighten a Loose Blender Jar Base
If the issue with your leaking blender is a loose or damaged blender jar base, you can easily fix it by tightening it. Here are the steps:
- Unplug the blender and remove the blender jar from the base.
- Turn the blender jar upside down and use a screwdriver or pliers to tighten the screws that hold the blender jar base in place.
- Put the blender jar back onto the base and turn it on to test if the leak has been fixed.
How to Fix a Cracked Blender Jar Bottom
If the blender jar bottom is cracked, you’ll need to replace it. Unfortunately, there’s no way to fix a cracked blender jar bottom. To replace the cracked blender jar bottom, follow these steps:
- Unplug the blender and remove the blender jar from the base.
- Order a new blender jar bottom from the manufacturer or an authorized dealer.
- Remove the old blender jar bottom by unscrewing the screws that hold it in place.
- Replace the old blender jar bottom with the new one.
- Screw in the new blender jar bottom and place the blender jar back onto the base.
- Turn on the blender to ensure that the leaking issue has been resolved.
Tips for Preventing Your Blender from Leaking in the Future
Preventing your blender from leaking in the future is essential to ensure its longevity. Here are some tips to help you:
- Regularly inspect the blender jar base, the blade assembly and seal for any signs of wear and tear.
- Ensure the blender jar is tightly fitted to the base to prevent any leaks.
- Avoid overfilling the blender jar to prevent spillage while blending.
- Wash and drain the blender jar and blade assembly thoroughly after each use to prevent the build-up of mold or mildew.
When to Seek Professional Help for Your Leaking Blender
If you’ve tried to fix the leaking issue with your blender, but the problem persists, it may be time to seek professional help. You can contact the manufacturer, authorized dealers, or professional appliance repair services to help fix the issue.
Troubleshooting Common Problems with Blenders
Blenders can sometimes develop issues that can impact their performance. Here are some common problems and their solutions:
- Blender is not turning on: Check the electrical outlet, power cord, and the blender’s ON/OFF switch’
- Blender blades are not turning: Check if the blades are obstructed or not fitted correctly in the blender jar.
- Blender is not blending properly: Check if the blender jar is overfilled, and ensure the blender jar base and blade assembly are correctly attached.
Understanding Different Types of Blenders and Their Maintenance Needs
Blenders come in various types, such as countertop blenders, hand-held blenders, immersion blenders, and bullet blenders. Each type has its unique maintenance needs, such as cleaning the blender jar, blade assembly, and seal thoroughly after every use. It’s essential to consult the manufacturer’s manual or online resources to maintain your blender correctly.
How to Clean and Maintain Your Blender
Cleaning and maintaining your blender is essential to keep it in good working condition. Here are the steps to clean your blender:
- Unplug the blender and disassemble the blender jar, blade assembly, and seal.
- Wash each component of the blender with warm water, washing soap, and a sponge or brush.
- Dry each component thoroughly using a clean cloth or let it air-dry.
- Reassemble the blender and store it safely in a dry place.
Common Mistakes to Avoid When Using a Blender
When using a blender, there are some common mistakes to avoid to prevent damage or safety hazards. These include:
- Overfilling the blender jar beyond its capacity.
- Starting the blender on high speed without gradually increasing the speed.
- Not securing the blender jar lid correctly before turning the blender on.
- Using the blender with damaged or worn out components such as the blade assembly or seal.
The Benefits of Owning a High-Quality, Durable Blender
Owning a high-quality, durable blender can make all the difference in your blending experience. A powerful, reliable blender can effortlessly blend tough fruits and vegetables and help save time in the kitchen. Investing in a high-quality blender can lead to delicious and nutritious smoothies, soups, and sauces with ease.
In conclusion, fixing a blender that’s leaking from the bottom can be a simple process if you understand the causes of the issue and have the right tools to fix it. By following the steps outlined in this article and taking care of your blender with regular maintenance and cleaning, you’ll be able to enjoy smooth and leak-free blending every time.


