Cleaning your Philips air fryer is essential for ensuring it works properly, and following a few steps will make the process easier. In this guide, we’ll walk you through the process of cleaning your air fryer, from pre-cleaning preparation to troubleshooting any common problems that may arise. Read on to learn more!
What You’ll Need
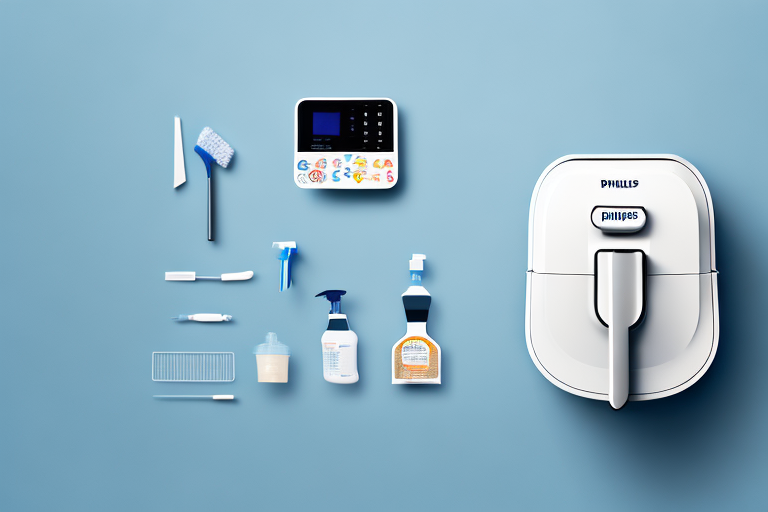
Before you start the cleaning process, it’s important to gather the necessary items. You’ll need a scrubbing pad or soft brush, a cleaning solution (such as dish soap and water), a damp cloth and a dry cloth. Gather these items first so that you’re ready to get started.
It’s also important to make sure that you have the right type of cleaning solution for the surface you’re cleaning. For example, if you’re cleaning a wooden surface, you’ll want to use a mild soap and water solution. For a tile or stone surface, you’ll want to use a stronger cleaning solution. Be sure to read the instructions on the cleaning solution before you use it.
Pre-Cleaning Preparation
Before you start cleaning your air fryer, make sure it is unplugged and not connected to any power source. This prevents damage or potential danger to you or the machine. You should also check the instruction manual that came with your air fryer to make sure you’re cleaning it correctly.
It is also important to remove any food particles or debris from the air fryer before you start cleaning. This can be done by using a damp cloth or paper towel to wipe down the inside of the air fryer. Make sure to get into all the nooks and crannies to ensure that all food particles are removed.
Step 1: Empty the Fryer
Start by emptying the fryer of any foods or leftovers. This includes anything inside the basket and tray. Make sure all the food and debris is removed, as this will make it easier to clean.
Once the fryer is empty, you can begin the cleaning process. Make sure to use a non-abrasive cloth or sponge to wipe down the interior of the fryer. This will help to remove any grease or residue that may have built up over time.
Step 2: Clean the Basket and Tray
Once the inside of the air fryer is empty, you can start cleaning the basket and tray. Use a scrubbing pad or soft brush and your cleaning solution to scrub away any food residue or build-up from the basket and tray. Be sure to rinse them off with water after scrubbing them.
Step 3: Thoroughly Clean the Fryer Interior
Next, you can move on to cleaning the interior of the air fryer. Use the scrubbing pad or soft brush and your cleaning solution to scrub away any food residue or build-up from the inside walls. Be sure to rinse with water once you’re finished.
Step 4: Wipe Down the Exterior
After you’ve cleaned the interior, it’s time to move on to wiping down the exterior. Use a damp cloth and a drop of your cleaning solution and wipe down the exterior of the fryer. Be careful not to use too much moisture so that you don’t damage any electrical components of your air fryer.
Step 5: Reassemble and Test the Fryer
Now that your air fryer is clean, reassemble all pieces and plug it back into power source. Test it out with a few pieces of food (such as french fries or chicken wings) and make sure everything is working properly. If your air fryer isn’t working correctly, troubleshoot any common problems as discussed in the next section.
Tips for Maintaining Your Philips Air Fryer
Maintenance is key to ensuring your Philips air fryer lasts a long time. Here are some basic tips for maintaining your air fryer:
- Clean it regularly after each use (as outlined above).
- Keep it away from heat sources or direct sunlight.
- Check for loose screws or parts periodically.
- Make sure any removable pieces are secured firmly before using.
- Be sure not to overfill it with food when cooking.
- Store the fryer in a dry area with adequate ventilation when not in use.
Following these tips will help make sure your Philips air fryer has a long life.
Troubleshooting Common Problems
If you find that your air fryer isn’t working properly after you’ve cleaned it, there are several common problems that you can troubleshoot. Some common problems include:
- Air fryer won’t turn on – Check the power source and make sure it’s securely plugged in.
- Air fryer is noisy – Make sure all removable pieces are secured firmly.
- Air fryer is smoking – Be sure not to overfill it with food when cooking.
If troubleshooting these common problems doesn’t solve your issue, consult the instruction manual that came with your air fryer for further guidance or call customer service for additional help.
Cleaning a Philips air fryer isn’t complicated if you know what you’re doing. Following these steps and troubleshooting any problems that come up along the way will help ensure you have a clean and properly functioning air fryer.


