Baking is a much maligned and increasingly neglected frontier. In the era of Instagram-worthy restaurants, Tinder-worthy desserts, and BuzzFeed-worthy blogs, baking has all but been forgotten.
The problem with baking isn’t just that it’s time intensive or messy; people who bake know that there are many techniques in which to succeed…
1. Mix: This technique is most often used for cake batters. The flour is mixed together with the butter or shortening until it resembles corn meal or bread crumbs. A number of dry ingredients such as sugar, salt and baking powder are mixed in before liquid ingredients such as milk (or soy milk) or fruit juice are added to bring the batter together. Some bakers prefer to mix small amounts at a time and keep the batter refrigerated while they do other tasks. Others prefer to mix the entire amount and keep it in the refrigerator or freezer until needed.
2. Fold: This technique is used for cookies, biscuits, and muffins. The fat is usually folded into the dry ingredients with a spatula or wooden spoon in two stages. The first stage involves gently combining them, but not as much as you would when mixing batter. You want to see distinct streaks of butter or shortening throughout the mixture when you are done with your first pass. The second stage involves mixing the dough more vigorously.
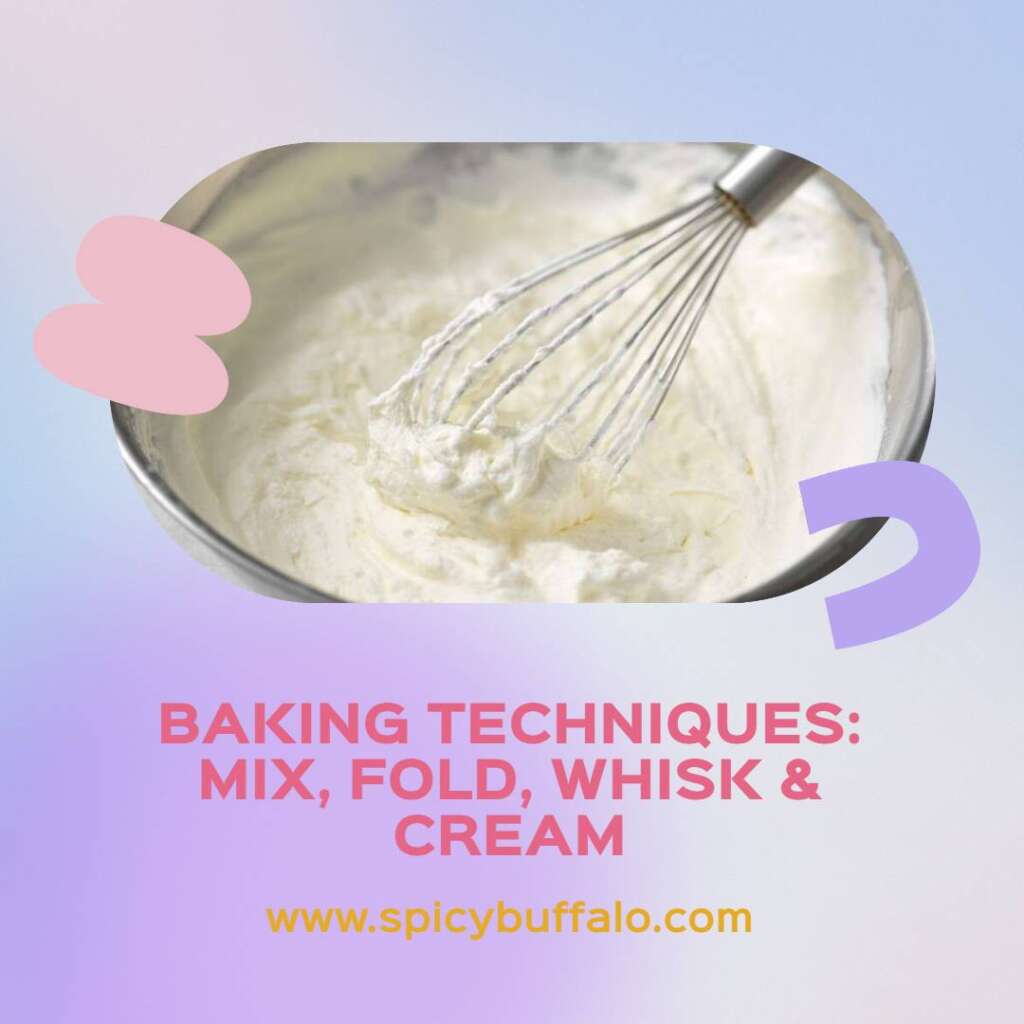
3. Whisk: This technique is most often used for soufflés, egg whites and ganache. Be sure that your bowl and beaters are perfectly clean and dry or you can end up with lumpy or grainy results. Unless directed otherwise, use a gentle hand while whisking to avoid over-beating the fragile eggs.
4. Cream: This technique is most often used for buttercreams and meringues. The butter (or shortening) is beaten until it becomes smooth, creamy and fluffy, at which point you add the sugar (or powdered sugar) gradually while continuing to beat until light and airy.
5. Meringue: This technique is most often used for meringues like the classic cloud. The egg whites are beaten until they form peaks, at which point all of the sugar is added and the whites are folded into the egg yolks. Finally, more egg white is beaten into the mixture–quite a lot! As you beat, it becomes stiff enough to maintain its shape and prevent collapse.
6. Whipped cream: This technique is most often used for mousses, ganache and truffles. The heavy cream can be whipped before or after making it with an electric hand mixer or stand mixer (in a bowl).
7. Custard: This technique is most often used for crème brûlée. The cream, milk, sugar and vanilla are brought to a simmer in a bowl set over another bowl filled with ice water (a bain-marie). Once it thickens, the hot mixture is slowly added to beaten egg yolks while whisking vigorously. It’s important to cool the mixture before stirring it into the whipped cream and returning it to a bain-marie or refrigerating it.
8. Lard: This technique is most often used for pie crusts made in a food processor or standing mixer. The lard and flour are pulsed until combined (or mixed). Next, the water is added and pulsed (or mixed again) until the mixture comes together. The dough is then rolled into a ball, wrapped in parchment paper and refrigerated or frozen before it is used.
9. Lollipop: This pastry technique most often uses an ice cream cone as a mold. The dough is rolled out thinly to approximately 1/8″ thick. Next, it’s cut into rounds and placed inside of the cone mold with a small piece extending over the edge of the mold to create a hole in the center of the candies when they are inverted later on.
10. Ring: This pastry technique most often uses a cookie cutter as a mold. The dough is rolled out thinly to approximately 1/8″ thick. Next, it’s cut into rounds using a cookie cutter and then placed inside of the ring mold with the hole slightly off center.
11. Filling: This pastry technique most often uses a pastry bag or spoon to fill the dough with jam or another filling before baking.
12. Egg Wash: This pastry technique most often used for egg-wash brushed on pastries before or after they have been baked and cooled. It is most commonly used to give the pastry a shiny, golden finish.
13. Brushing: This pastry technique most often used for brushing lemon or sugar syrup onto the pastries after they have been baked and cooled. It is most commonly used to give the pastry an even, sugary coating without excess sugar that are not absorbed by the dough.
14. Sprinkling: This pastry technique most often used for sprinkling sanding sugar or coarse salt on top of finished pastries for extra texture and flavor.
15. Chilling: This pastry technique most often used for chilling the rolled out dough before cutting into shapes with a cookie cutter or stamping it with a design using a fork. It is most commonly used to prevent breakage (and your heartbreak) during the cutting process and to ensure that they hold their shape while baking.
16. Slashing: This pastry technique most often used for slitting the top of the pastry with a sharp knife to allow steam to escape during baking. It is also sometimes done after baking to let steam escape from the oven or encourage caramelization or other flavor development of glazes, syrups and fillings on pastries as they cool.
17. Dust: This pastry technique is most often used for sprinkling powdered sugar on pastries after they are baked and cooled. It is most commonly used to give the pastry an attractive, crunchy texture without excess sugar that are not absorbed by the dough.
18. Decorating: This pastry technique is most often used for decorating pastries with icing and shaping them into designs or shapes with a cookie cutter or stamping tool before baking and cooling. It is most commonly used as a finishing touch to complement a specific recipe or add a personal touch to an otherwise uniform-looking dessert.
As you can see, there are many more ways to decorate pastries than the traditional dots and lines of frosting. But that doesn’t mean that they aren’t necessary! For example, you may want to add something extra like a swirl or some piping for decorative effect. Or, you could just go all out by completely covering each slice of your cake with chocolate or sugar.
If you are a visual person like me (I must look down on all of my readers as I write this), I hope that this guide has given you a better understanding of pastry techniques and terminology. If not, feel free to leave me questions in the comments below.
What are the mixing methods in baking?
This question is related to the previous question. What are the different methods for combining ingredients when baking? Well, there are many, but here are some of the most common:
1. Stirring/Mixing by Hand/Stirring by Hand: This is pretty much what it sounds like–using your hands or a spoon to just mix up ingredients together. It can be done with dry or wet ingredients and you can mix them to a certain consistency or until no more lumps remain in your mixture before adding in the next ingredient.
2. Sifting: This is a method for combining dry ingredients together. This can be done by hand or with an electric sifter.
3. Creaming: This is a method for combining butter and sugar (or other dry ingredients) together in a mixing bowl until they are smooth and fluffy looking–this is commonly done to cakes, cookies, frostings and cupcakes before adding other ingredients to the mix or moving on to the next step of the recipe.
4. Blending: This is a method for combining wet ingredients together. This can be done by hand or with an electric blender.
5. Kneading: This is a method most common in bread making that involves using your hands to squeeze and push the dough together by folding it over on itself–it could be likened to kneading bread dough like a loaf of bread when you are making pasta. In the case of stir-ins, they will be added to the dough just before it is kneaded and folded like this, so that they can become evenly distributed throughout the dough without being overworked.
What is folding mixing method?
If you have ever made a pie crust, you have probably blended or creamed together the dry ingredients and then incorporated water and shortening into the mix. Then, you kneaded it and rolled it out after that. You may have also been taught to rotate your dough as you are folding it over on itself–thus incorporating air bubbles in to the mixture.
This is a similar technique, but is typically used to incorporate flour or dry ingredients into wet ingredients in baked goods like cakes and cookies–the wet ingredient is more than likely a dough that has been refrigerated for at least 30 minutes before baking–especially if it contains yeast.
What are the mixing techniques?
Mixing techniques can be slightly harder to describe. This is because each type of mixing technique is named for what it does, not how it does it. For example, creaming simply refers to combining ingredients together until they are smooth and fluffy looking (similar to how you might cream butter and sugar together).
Sifting can refer to mixing dry ingredients together or incorporating the dry ingredients into the wet (like I just explained). Then there is blending which refers to combining wet ingredients together, but also can refer to incorporating the wet ingredients into the dry without over-mixing them.
What’s the difference between folding and mixing in baking?
Folding is a type of mixing that incorporates air into a batter or dough. It is done through the use of circular motions in which you fold the ingredients over on themselves. This can be done either by hand or with an electric mixer. Mixing means to incorporate ingredients together and it can be done by hand or with an electric mixer, but tends to refer to the act of creaming and blending.
CONCLUSION:
I hope that this guide has proved helpful to you as a visual guide to pastry techniques and terminology. I know that I was pretty surprised when I realized how much there was to learn about the world of pastry beyond the basics. It really opened my eyes when I attended culinary school and realized that there was so much that went on behind the scenes of cooking–my eyes were truly opened!


