If you love milk-based drinks like lattes and cappuccinos, you know that the froth on top is just as important as the espresso beneath. A frothy, creamy texture can make all the difference in the taste and presentation of your drink. While traditional methods of frothing milk involve a whisk, a frothing wand, or a milk steamer, the immersion blender, also known as a stick blender, is a powerful, versatile tool that can also be used to froth milk. In this article, we’ll explore the science behind frothing milk with an immersion blender, give you step-by-step instructions on how to froth milk with an immersion blender, and provide tips and tricks to help you achieve perfectly frothed milk every time.
Why Use an Immersion Blender to Froth Milk?
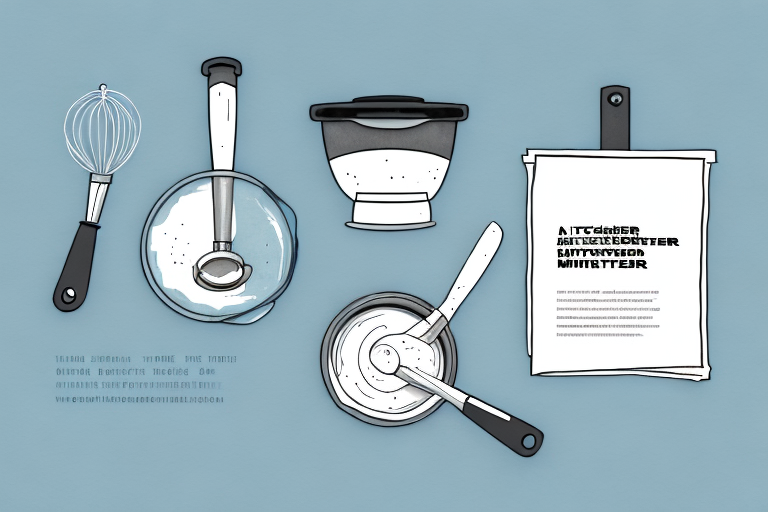
An immersion blender is a handheld device with a motorized blade on one end, designed to be immersed in a liquid. It’s often used for blending soups, sauces, and smoothies, but it can also be used to froth milk. The advantage of using an immersion blender for frothing milk is that it can create a frothy, creamy texture quickly and easily, without the need for a separate frothing wand or milk steamer. It’s also more affordable and portable than other frothing tools, making it a great option for home baristas who want to experiment with different milk-based drinks.
Another advantage of using an immersion blender for frothing milk is that it allows for greater control over the texture of the froth. With a frothing wand or milk steamer, it can be difficult to achieve the desired level of frothiness, but with an immersion blender, you can easily adjust the speed and duration of blending to get the perfect texture.
Additionally, using an immersion blender for frothing milk can be a more hygienic option than using a traditional frothing wand. Frothing wands can be difficult to clean thoroughly, which can lead to the buildup of bacteria and other harmful microorganisms. With an immersion blender, the blade can be easily removed and cleaned, ensuring that your frothed milk is always safe and healthy to consume.
The Science Behind Frothing Milk with an Immersion Blender
When you froth milk with an immersion blender, you’re incorporating air into the milk to create tiny bubbles. These bubbles add volume to the milk and create a frothy, creamy texture. The key to frothing milk with an immersion blender is to use the blade to agitate the milk as it’s being aerated, which creates a denser, more stable foam.
It’s important to note that the temperature of the milk also plays a role in the frothing process. Cold milk froths better than warm milk because the colder temperature helps to stabilize the foam. However, if the milk is too cold, it can be difficult to achieve a smooth and creamy texture. It’s recommended to use milk that is around 40-50°F for optimal frothing results.
Step-by-Step Guide to Frothing Milk with an Immersion Blender
Here’s how to froth milk with an immersion blender:
- Select the right container: Use a tall, narrow container that’s at least twice the volume of the amount of milk you’re frothing. This will allow for optimal aeration and prevent the milk from splashing out of the container.
- Pour in the milk: Fill the container with cold milk to about one-third full. This will allow room for the milk to expand as it’s being frothed.
- Use the immersion blender: Place the immersion blender in the milk, making sure it’s fully immersed. Turn it on and move it up and down quickly, keeping the blade just under the surface of the milk. Continue to blend until the milk doubles in volume and forms a thick, creamy foam.
- Serve and enjoy: Once the milk is frothed to your desired consistency, pour it into your drink of choice and enjoy!
There are a few tips and tricks to keep in mind when frothing milk with an immersion blender. Firstly, make sure the milk is cold and fresh. Warm or old milk won’t froth as well and may even curdle. Secondly, don’t overfill the container with milk. If the container is too full, the milk won’t have enough room to expand and froth properly. Finally, be careful not to overblend the milk. Overblending can cause the milk to become too thick and lose its creamy texture.
Immersion blenders are a versatile tool that can be used for more than just frothing milk. They can also be used to make smoothies, puree soups, and even whip cream. When using an immersion blender for these tasks, make sure to use the appropriate attachment and follow the manufacturer’s instructions for best results.
Tips and Tricks for Perfectly Frothed Milk Every Time
To achieve perfectly frothed milk with an immersion blender, here are some tips and tricks to keep in mind:
- Use cold milk: Cold milk froths better than warm or room temperature milk, so make sure your milk is chilled before frothing.
- Don’t overfill the container: If you overfill the container, the milk won’t have enough room to expand and create a good foam.
- Keep the blender moving: To create a dense, stable foam, keep the immersion blender moving in an up-and-down motion while it’s blending.
- Use the right blade: Some immersion blenders come with different blade attachments, such as a whisk attachment. Use the blade that’s designed specifically for frothing milk to achieve the best results.
Another important tip to keep in mind is to use a container that’s deep enough to prevent the milk from splattering while it’s being frothed. A deep container will also allow you to create a larger volume of foam.
It’s also important to note that the type of milk you use can affect the frothing process. Whole milk tends to froth better than skim or low-fat milk, due to its higher fat content. However, if you’re looking for a healthier option, you can try using almond or soy milk, which can also be frothed with an immersion blender.
Different Types of Milk for Frothing with an Immersion Blender
While whole milk is the most commonly used milk for frothing, you can also use other types of milk, such as almond milk or soy milk. However, keep in mind that different types of milk will froth differently and may require different techniques to achieve a good foam. For example, non-dairy milks may not create as dense or stable of a foam as dairy milk, so you may need to add a stabilizing agent, such as xanthan gum, to get the desired result.
Another factor to consider when frothing milk with an immersion blender is the temperature of the milk. Cold milk will take longer to froth and may not produce as much foam as warm milk. It’s recommended to heat the milk to around 140°F before frothing for the best results.
Additionally, the type of immersion blender you use can also affect the frothing process. Some immersion blenders come with a frothing attachment that can make the process easier and more efficient. However, if your immersion blender doesn’t have a frothing attachment, you can still achieve a good foam by using a whisk or a handheld milk frother.
How to Clean Your Immersion Blender After Frothing Milk
Cleaning your immersion blender after frothing milk is easy. Simply detach the blade attachment and wash it in warm, soapy water. Be sure to clean the handle of the blender as well, as milk can sometimes splash onto it during use. Avoid submerging the handle in water, and instead wipe it down with a damp cloth. Allow the attachment and handle to air dry before storing.
It’s important to note that if you don’t clean your immersion blender thoroughly after frothing milk, it can leave a residue that can be difficult to remove later. To avoid this, you can also use a mixture of warm water and vinegar to clean the blade attachment and handle. Simply soak them in the mixture for a few minutes before washing them with warm, soapy water. This will help to remove any stubborn milk residue and leave your immersion blender clean and ready to use for your next recipe.
Blending vs Whisking: Which Method is Better for Frothing Milk?
While blending with an immersion blender is a quick and easy method for frothing milk, whisking can also be effective, especially if you don’t have an immersion blender. To whisk milk, warm it on the stove or in the microwave until it’s hot but not boiling. Then, whisk vigorously with a wire whisk until it doubles in volume and becomes frothy. While whisking can take longer than blending, it can create a thicker foam with larger bubbles, giving your drink a different texture.
Using an Immersion Blender for Latte Art: Techniques and Ideas
If you’re interested in latte art, you can use an immersion blender to froth milk for designs like hearts, rosettas, and tulips. To do this, froth your milk as usual, then pour it into your espresso shot. Using a small spoon or toothpick, create your desired design by dragging the foam in different directions on the surface of the milk. With practice, you can create impressive latte art designs using your immersion blender!
Other Creative Uses for Your Immersion Blender Beyond Frothing Milk
Finally, don’t forget that your immersion blender can be used for more than just frothing milk. Try blending soups, sauces, and smoothies, or even making homemade whipped cream. The possibilities are endless with this versatile kitchen tool!


