Your KitchenAid mixer is one of the most versatile pieces of high-end kitchen equipment available. From kneading dough to emulsifying mayonnaise, it’s a modern-day powerhouse that can handle almost any food preparation task with ease. But why settle for boring when you can make your KitchenAid stand out with a stylish kitchen decal? Decals not only give your KitchenAid a personality all its own, they also add extra protection and a layer of style to your mixer.
The Benefits of Decorating Your KitchenAid Mixer
Aside from the obvious visual aesthetic of adding a decorative touch to your KitchenAid mixer, there are plenty of practical advantages to consider as well. A quality decal will help to protect the appliance from scratches, nicks and scuffs that are often the result of everyday wear and tear. They also have an element of insulation, which can help to keep your mixer from becoming too hot when running for long periods of time.
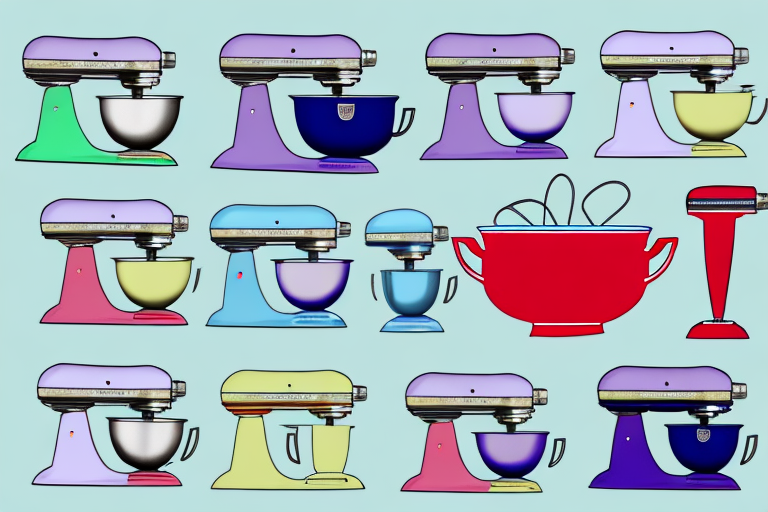
Decorating your KitchenAid mixer is also a great way to express your personal style and make it stand out from the crowd. With a wide variety of colors, patterns, and designs to choose from, you can easily find a decal that reflects your unique taste and adds a touch of personality to your kitchen. Plus, decals are easy to apply and remove, so you can switch up your look whenever you want.
Choosing the Right Decal for Your KitchenAid Mixer
When it comes to choosing a decal for your KitchenAid mixer, the options are practically endless. You can find everything from humorous and whimsical designs to pieces of artwork to match the decor of your kitchen. When selecting a decal, it’s important to consider the size and shape of your appliance. Long, thin decals are typically best for full-size mixers, while small devices such as stand mixers may just need a single sticker-style decal.
How to Apply a Decal to Your KitchenAid Mixer
Applying a decal to your KitchenAid mixer is a simple and straightforward process. Begin by cleaning the surface of your mixer with a soft cloth and warm water. This will remove any dirt or residue that could potentially interfere with the adhesion of the decal. Once the surface is clean, peel off the backing of the decal and carefully align it with the edge of your mixer’s bowl. Then slowly press down the decal until it is firmly attached. To ensure proper adherence, press down firmly on each edge of the decal, working from the center out.
Maintenance Tips for Keeping Your KitchenAid Mixer Looking Its Best
The key to maintaining your KitchenAid mixer’s decal is proper care and cleaning. To protect the decal from fading, scrub it with mild soap and warm water after each use. Avoid using abrasive sponges or get too vigorous with your scrubbing as these can damage the decal’s design. For tougher dirt and grime that water alone can’t remove, use a soft-bristled brush and a mild cleaner. You should also avoid using any type of solvent or chemical on your decal.
Creative Ideas for Uniquely Decorating Your KitchenAid Mixer
If you’re looking to get creative with your mixer’s style, decals are a great way to do it. You can choose any design you want with a patterned or textured vinyl decal. Geometric prints are especially popular in more modern kitchens. If you’re looking for something more traditional, try a nature-inspired design such as flowers or birds. You can also get creative with different colors and mix-and-match them to create a custom look.
Color and Pattern Options to Consider for Your KitchenAid Mixer Decal
When it comes to color and pattern options for your KitchenAid mixer decal, you’re really only limited by your imagination. For a modern look, consider black and white geometric designs or bold abstracts in bright colors. For more traditional decor, try nature-inspired illustrations such as gardens, flowers, birds and butterflies. Some manufacturers even offer monogrammed options that allow you to customize the look of your mixer with your initials.
Tips for Finding Quality Decals for Your KitchenAid Mixer
Decorating your KitchenAid mixer is an investment in both its style and longevity, so be sure to find quality decals whenever possible. We recommend choosing vinyl or ultra-durable laminated materials that are designed specifically for the kitchen. Also be sure to compare prices among different retailers to get the best value for your money. Low-cost options may not be as durable or vibrant as more expensive ones.
What to Avoid When Applying a Decal to Your KitchenAid Mixer
When applying your KitchenAid mixer’s decal, be sure to avoid any mistakes that could potentially damage the sticker or its adhesive backing. To avoid creating air bubbles under the decal, press firmly while peeling back the backing to ensure even adhesion. Be sure to avoid using any liquids or chemicals on the decal and its adhesive as this can weaken both over time. Finally, be sure not to overstretch or apply too much pressure on the decal while applying as this can lead to wrinkling, tearing or even damage to the appliance itself.


