So you’re in the middle of making a delicious smoothie or a creamy soup, and suddenly your Cuisinart blender decides to stop working. Frustrating, right? But don’t worry, troubleshooting the issue is easier than you might think. In this article, we’ll guide you through the process of getting your blender back up and running in no time.
Understanding the Basics of Your Cuisinart Blender
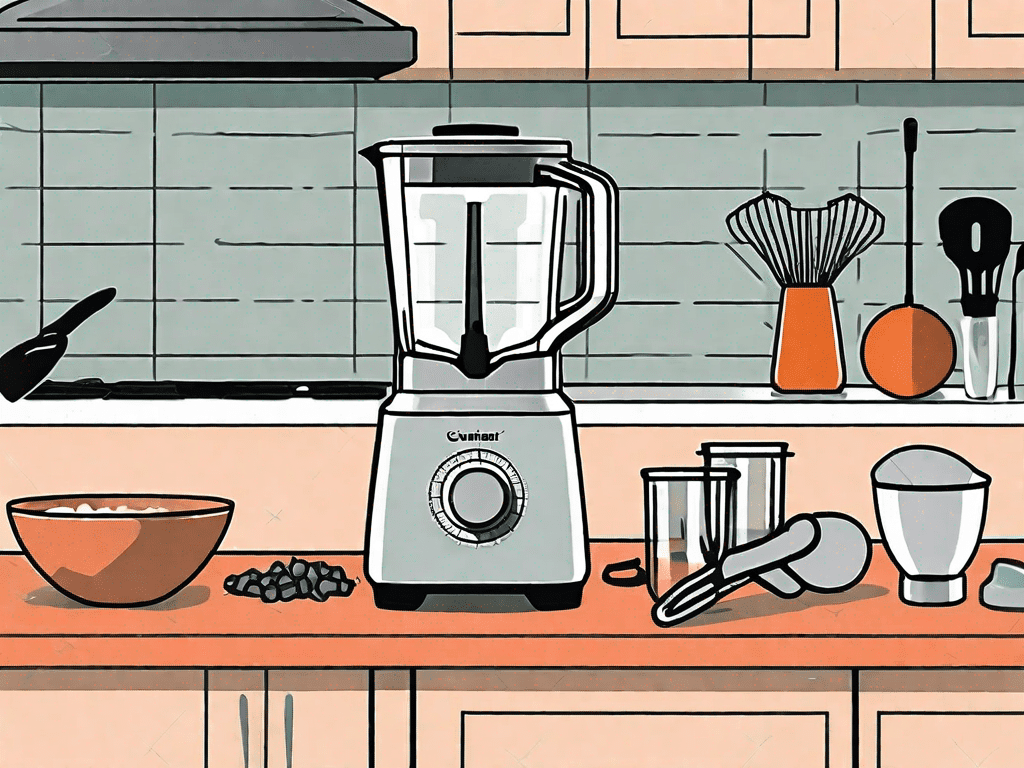
Before we dive into troubleshooting, it’s important to have a basic understanding of how your Cuisinart blender works. This will help you identify and fix any issues that may arise. A typical Cuisinart blender consists of several key components:
Key Components of Your Cuisinart Blender
The motor: This is the powerhouse of your blender, responsible for spinning the blades and creating the blending action. It is a high-performance motor that ensures efficient blending of ingredients, whether you’re making smoothies, soups, or sauces. The motor is designed to provide consistent power and speed, allowing you to achieve the desired texture and consistency of your blended creations.
The control panel: This is where you’ll find the buttons and switches that operate your blender. It allows you to control the speed and settings for blending. With a variety of options, such as pulse, low, medium, and high speeds, you can customize the blending process to suit your specific needs. The control panel is designed to be user-friendly, making it easy for you to navigate and select the desired settings.
The pitcher: Also known as the jar or container, this is where you place the ingredients to be blended. The pitcher is made of durable materials that are resistant to heat, impact, and staining. It has a convenient handle for easy pouring and a secure lid to prevent any spills or splatters during the blending process. The pitcher is designed to be dishwasher-safe, making cleanup a breeze.
The blade assembly: These are the sharp blades that are attached to the base of the pitcher. They rotate at high speed to chop and blend the ingredients. The blade assembly is made of stainless steel, ensuring durability and longevity. It is designed to create a vortex that pulls the ingredients towards the blades, ensuring thorough blending and smooth results. The blade assembly is removable for easy cleaning and maintenance.
Common Issues with Cuisinart Blenders
Now that you know the main components of your blender, let’s talk about some common issues you might encounter:
1. The blender doesn’t turn on: This could be due to power supply issues, a faulty connection, or a malfunctioning motor. If you experience this issue, make sure the blender is properly plugged in and the power source is functioning. Check the power cord for any damage or loose connections. If everything seems to be in order, it could indicate a problem with the motor, and it may be necessary to contact customer support for further assistance.
2. The blender blades are not spinning: If the motor is running but the blades aren’t moving, there could be a problem with the blade assembly or the motor itself. Check to see if the blade assembly is securely attached to the pitcher. If it is, but the blades still aren’t spinning, it could indicate a motor issue. In this case, it’s best to reach out to the manufacturer for troubleshooting or repair options.
3. The blender is leaking: Leaks can occur if the pitcher is not properly locked onto the base or if the blade assembly is cracked or damaged. To prevent leaks, ensure that the pitcher is securely locked onto the base before operating the blender. Inspect the blade assembly for any cracks or damage, as this could also cause leaks. If you notice any issues, it’s recommended to replace the blade assembly or contact customer support for further assistance.
Preliminary Checks Before Troubleshooting
Before diving into the troubleshooting process, it’s essential to perform some preliminary checks. These will help you identify the root cause of the issue and narrow down the possible solutions.
When it comes to troubleshooting your blender, there are a few key areas to focus on. Power supply and connection issues, as well as physical damage, are common culprits that can hinder the blender’s performance. By conducting these preliminary checks, you can save yourself time and frustration in the long run.
Power Supply and Connection Issues
Start by checking that your blender is properly connected to a power source. Ensure that the power cord is securely plugged into a functioning electrical outlet. If you’re using a cordless blender, make sure the battery is charged.
It’s not uncommon for power cords to become loose over time, especially if the blender is frequently moved or transported. Take a moment to inspect the power cord for any visible damage or fraying. If you notice any issues, it’s best to replace the cord to avoid any potential safety hazards.
Next, examine the power buttons and switches on your blender. Sometimes they can get stuck or become unresponsive. Try toggling them on and off a few times to see if that solves the issue. If the buttons or switches appear to be damaged or faulty, it may be necessary to have them repaired or replaced.
Checking for Physical Damage
Inspect the blender’s components for any signs of physical damage. Look for cracks or chips in the pitcher and blade assembly. Damaged parts can cause leaks or prevent the blender from operating correctly. If you find any damage, it’s crucial to replace the affected parts.
In addition to the pitcher and blade assembly, check the blender’s base for any signs of wear and tear. Over time, the motor can become worn out or damaged, leading to decreased performance. If you notice any unusual noises or vibrations coming from the base, it may be an indication that the motor needs to be replaced.
Furthermore, take a close look at the blender’s buttons and controls. Are they functioning properly? Sometimes, dirt or debris can accumulate around the buttons, causing them to stick or become unresponsive. Cleaning the buttons with a soft cloth and some mild detergent can often resolve this issue.
By conducting these preliminary checks, you can gather valuable information about the condition of your blender and potentially pinpoint the cause of any issues you may be experiencing. Remember to always prioritize safety and consult the manufacturer’s instructions or contact customer support if you’re unsure about any troubleshooting steps.
Step-by-Step Troubleshooting Guide
If your blender is still not working after performing the preliminary checks, it’s time to move on to troubleshooting. Here’s a step-by-step guide to help you identify and fix common issues:
Dealing with Motor Problems
1. Check the power supply: Make sure your blender is plugged into a working outlet or that the battery is charged.
2. Reset the blender: Some blenders have a reset button or switch. Press or flick it to see if that resolves the issue.
3. Overheating: If your blender has been running for an extended period, it may have overheated. Give it some time to cool down before attempting to use it again.
4. Motor replacement: If none of the above steps work, there may be a problem with the motor. In this case, it’s best to contact the manufacturer or a professional technician for assistance.
When it comes to motor problems, it’s important to understand the inner workings of your blender. The motor is the heart of the appliance, responsible for powering the blades and ensuring smooth blending. If the power supply is not the issue and resetting the blender doesn’t help, it’s possible that the motor has malfunctioned. This can be a frustrating problem to encounter, as it may require professional help or even a replacement blender. However, before jumping to conclusions, it’s worth considering the possibility of overheating. Blenders, especially those used for heavy-duty blending tasks, can get quite hot. If you’ve been blending for an extended period, it’s possible that the motor has overheated and shut down as a safety measure. In such cases, it’s best to give the blender some time to cool down before attempting to use it again. If the motor problem persists, it’s advisable to reach out to the manufacturer or a professional technician who can provide expert guidance and assistance.
Addressing Blade Issues
1. Check for blockages: Sometimes food particles can get stuck in the blade assembly, preventing it from spinning. Carefully remove the blades and clean them to ensure they are free of debris.
2. Blade assembly replacement: If the blades are rusty, cracked, or damaged beyond repair, it’s time to replace the blade assembly. Refer to your blender’s manual for guidance on finding and purchasing the correct replacement part.
The blades of your blender play a crucial role in achieving smooth and consistent blending results. Over time, however, they can become clogged with food particles, which can hinder their performance. If you notice that your blender is not blending as effectively as it used to, it’s worth checking for blockages in the blade assembly. Carefully remove the blades and inspect them for any signs of debris. If you find any, clean the blades thoroughly to ensure they are free from any obstructions. Additionally, it’s important to regularly inspect the condition of your blades. If you notice any rust, cracks, or other signs of damage, it may be time to replace the blade assembly. Consult your blender’s manual for guidance on how to find and purchase the correct replacement part. By keeping your blades clean and in good condition, you can ensure optimal blending performance and extend the lifespan of your blender.
Solving Leaking Problems
1. Ensure proper assembly: Make sure the pitcher is securely locked into the base and that the blade assembly is tightly screwed onto the pitcher.
2. Check for cracks: Inspect the pitcher and blade assembly for any cracks or damage that may be causing the leaks. If you find any, replace the affected parts.
3. Adjust blending technique: If you’re blending ingredients with high water content, try reducing the blending time or pulsing the blender instead of running it continuously. This can help prevent excessive pressure buildup and subsequent leaking.
Leaking is a common issue that many blender users encounter. It can be frustrating to find a pool of liquid on your countertop after blending. To address this problem, it’s important to ensure proper assembly of your blender components. Make sure that the pitcher is securely locked into the base and that the blade assembly is tightly screwed onto the pitcher. Loose or improperly assembled parts can cause leaks during blending. Additionally, it’s crucial to inspect the pitcher and blade assembly for any cracks or damage that may be contributing to the leaks. If you find any, it’s best to replace the affected parts to prevent further leakage. Another factor to consider is your blending technique. Blending ingredients with high water content for an extended period can create excessive pressure inside the blender, leading to leaks. To mitigate this, try reducing the blending time or pulsing the blender instead of running it continuously. This can help prevent the buildup of excessive pressure and minimize the chances of leakage. By ensuring proper assembly, inspecting for damage, and adjusting your blending technique, you can effectively address and solve leaking problems with your blender.
Maintenance Tips for Your Cuisinart Blender
Now that you’ve resolved the issues with your blender, it’s essential to keep it in top shape for long-term use. Here are some maintenance tips to ensure optimal performance:
Regular Cleaning and Care
After each use, disassemble the blender and clean all the components thoroughly. Use warm soapy water and a soft brush to remove any residue or particles. Rinse well and dry all parts before reassembling them.
Additionally, make sure to wipe the base of the blender with a damp cloth to remove any spills or splatters on the surface.
When to Replace Parts
Over time, certain parts of your blender may wear out and need replacement. Keep an eye on the blades, pitcher, and gaskets. If you notice any signs of wear, degradation, or damage, it’s best to replace them promptly. Using worn-out parts can affect the blender’s performance and compromise your safety.
When to Seek Professional Help
While most blender issues can be resolved at home, there are times when professional help is necessary. Here are some situations where it’s recommended to contact the manufacturer or a technician:
Identifying Serious Technical Issues
If you’ve followed all the troubleshooting steps and your blender still doesn’t work, there may be an underlying technical problem that requires specialized knowledge to diagnose and fix.
Examples of serious technical issues include sudden electrical failures, malfunctioning circuit boards, or motor burnout. These problems are best handled by professionals who have the expertise to repair or replace the faulty components.
Contacting Cuisinart Customer Service
If your blender is still under warranty, it’s advisable to reach out to Cuisinart customer service for assistance. They can guide you through the troubleshooting process or arrange for a repair or replacement if needed.
Ensure you have your blender’s model and serial numbers handy when contacting customer service. This information is usually found on a sticker located on the underside or back of the blender’s base.
Conclusion: Keeping Your Cuisinart Blender in Top Shape
Your Cuisinart blender is a versatile kitchen appliance that can make your meal preparation a breeze. By understanding its basic components, performing regular maintenance, and troubleshooting common issues, you can keep your blender in top shape for years to come.
FAQs
- Q: How often should I clean my Cuisinart blender?
- Q: Can I use my Cuisinart blender for hot liquids?
- Q: Can I blend ice in my Cuisinart blender?
- Q: How long should I run my blender continuously?
- Q: Can I blend hot liquids in a cordless Cuisinart blender?
- Q: Is it normal for my blender to vibrate during operation?
- Q: How do I clean the control panel of my Cuisinart blender?
A: It’s recommended to clean your blender thoroughly after each use to prevent the buildup of residue and ensure hygienic blending.
A: Yes, Cuisinart blenders are designed to handle hot liquids. However, it’s essential to follow the manufacturer’s guidelines and avoid overfilling the pitcher to prevent spills and burns.
A: Yes, Cuisinart blenders are capable of blending ice. However, it’s important to use the appropriate blending settings and ensure that the blades are sharp and in good condition.
A: It’s generally recommended not to run your blender continuously for more than a minute at a time. Pulsing or pausing between blending cycles allows the motor to cool down and prevents overheating.
A: It’s not recommended to blend hot liquids in a cordless blender as the heat can shorten the battery life and potentially damage the blender’s internal components.
A: Some vibration is normal, especially when blending at high speeds. However, excessive vibration or rattling may indicate an issue with the blade assembly or motor and should be addressed.
A: To clean the control panel, simply wipe it gently with a damp cloth. Avoid using abrasive cleaners or submerging the blender’s base in water to prevent damage.
Table: Solutions for Common Blender Issues
| Issue | Solution |
|---|---|
| The blender doesn’t turn on | 1. Check power supply 2. Reset the blender 3. Overheating: Allow it to cool down 4. Motor replacement, if necessary |
| The blender blades are not spinning | 1. Check for blockages 2. Blade assembly replacement, if necessary |
| The blender is leaking | 1. Ensure proper assembly 2. Check for cracks 3. Adjust blending technique |
Table: Contact Information
| Company | Contact |
|---|---|
| Cuisinart Customer Service | Website: www.cuisinart.com Phone: 1-800-726-0190 |