
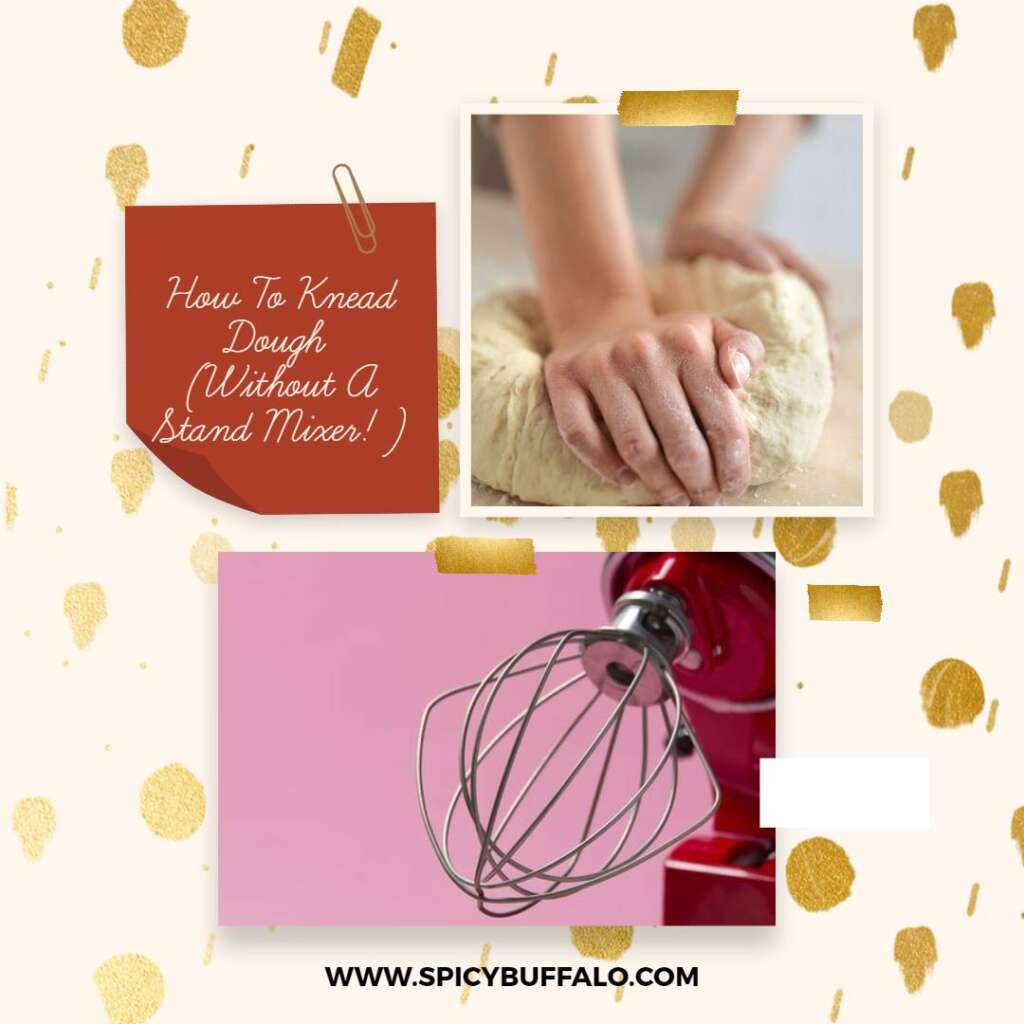
How to Knead Dough (without a Stand Mixer!)
It’s time to ditch the stand mixer and learn how to go at the dough by hand! Flour, water, and yeast make all the difference in this recipe for homemade bread.
It’s time to ditch the stand mixer and learn how to go at the dough by hand! Flour, water, and yeast make all the difference in this recipe for homemade bread.
Do you have problems kneading bread? If not yet, you will once you start experimenting with this dough. It is a bit different from those made using the stand mixer because there are no attachments to get in the way. I’ve shared my method in different posts , but here I wanted to share it all in one location.
When I was researching this method, I went as far to find a video of a woman who kneads bread by hand. The title of the video was “How to Knead Dough (without a Stand Mixer!)” and she made it clear that this is the proper way of doing things, but I still wanted to know if there was something wrong with my timing on the dough or not.
Here’s what you’ll need to knead, the proper tools.
3 1/2 Cups Flour 1 Tablespoon Sugar Salt 2 1/2 Teaspoons Yeast 3/4 Cup Water Warm Water Pour the water into a measuring cup, then pour into a bowl for mixing with your hands.
Measure the yeast into your water mixture (1/4 teaspoon of yeast per cup of water).
Add 2 cups of flour to the yeast mixture and stir with a wooden spoon.
Add two more cups of flour and stir with the wooden spoon until it starts to pull away from the sides of the bowl. This takes some time but that is how you know you’re correct.
Slowly add in the eggs, 1 at a time, and then finish by adding all three together.
Repeat steps 3, 4, and 5 so that all 3 1/2 cups of flour is mixed into your dough ball.
Scoop up the dough with your hands, dust off the excess flour, then start to work the flour into the dough by stretching it out. Fold it over and turn it with your fingers until you’ve made a rough ball shape.
Keep kneading at this point in a clockwise motion while the dough is getting more and more elastic. Once you’re done with that, then use both hands to stretch out the dough as far as possible before folding it over and repeating.
A stand mixer makes it easy for bakers to create perfectly formed loaves of bread – but what about those who want an authentic, old-fashioned loaf of bread? They can’t be forced into buying expensive mixers that don’t work well with every recipe. Fortunately with a little bit of practice and some helpful kitchen tools like a wooden spoon or spatula it’s possible to master this less efficient method.
The dough needs to be worked in a precise manner, which can only be achieved with practice. The best thing to do is start by kneading only a little bit at a time until it becomes easy and familiar. That way each batch of bread will come out well enough to serve as an example for the next batch.
Step 1: Prepare the Dough
In many of the old recipes, it’s difficult to tell exactly how much water was used and what temperature it was used at. It’s not entirely certain how much flour has been used either so these measurements are for guidance purposes only. The amount of water needed will vary depending on how much flour is used.
For 1 kg of flour, use no more than 500 ml of water. Heat the water to a little bit above room temperature (about 28 C). Pour the water into the bowl that contains the flour and use a wooden spoon to mix it up as much as possible. If it’s not completely mixed then don’t worry about it yet, just make sure that there are no dry patches of flour anywhere in the bowl. Once there are no dry patches left then knead the dough by hand for three minutes to incorporate the rest of the flour and create a solid dough ball.
Step 2: Knead the Dough
Take a few moments to knead the dough by hand for about eight minutes. If you end up with a sticky dough then don’t worry about it. Simply place the dough back in the bowl covered with a damp cloth and leave to rise for another two hours. Then make sure that you knead it again before eating it.
Depending on how much flour was used, this will create a rather soft dough ball but not too sticky so don’t worry if it’s not perfectly smooth and shiny. The main goal of this step is to develop an even consistency across the entire ball of dough which will allow us to roll out our bread into long thin loaves without tearing them apart.
Step 3: Put the Dough in a Bag
Place the dough back into the bowl and place it in a plastic bag. Cover with cling film and leave to rise for about 45 minutes. Then replace the cling film with a clean damp cloth and let rise for another two hours. There are many different kinds of bread recipes out there but I’ve always found that these three steps work really well for making bread rolls, pancakes, naan bread, pizza dough etc.
Step 4: Roll Out Your Dough
Once the dough has been left to rise for the second time, it’s time to start rolling out your bread. The idea is that all of the dough has risen so there should be a lot of air trapped inside the ball of dough. This means that it will be able to keep it’s shape and simply slide along a flat surface. Take a few moments to smooth any inconsistencies in the dough out before using your hands or rolling pin to begin rolling. Work outwards from the middle of your loaf and then towards the edges. It’s important that the dough isn’t too thin, about five millimeters. Thick loaves will end up becoming too heavy and falling apart so this is a really important step.
Step 5: Fold in Half and Shape into a Log
Once the dough is completely rolled out, it’s time to start creating your loaf by joining the ends of the dough together to form a log shape. The process of joining the ends together creates tension which means that it’ll have more strength and won’t collapse when you’re trying to slice it. I usually use my hands but you can use anything you have available like a rolling pin or spoon as well.
Step 6: Put the Dough in the Oven
Place your loaf on a flat tray or baking stone inside of an oven. It’s important that you don’t pack the dough too tightly or it won’t bake properly. Make sure that there’s plenty of space between each loaf as well to allow them to get fully cooked all the way through. Preheat the oven to 250 C and then place your bread inside for about 30 minutes before reducing the temperature to 200 C for another 15 minutes.
Step 7: Let it Cool
Once the bread is ready, leave it to cool down completely before enjoying. This ensures that the bread will remain nice and soft while offering a slightly chewy texture as well. If you leave it to cool in an area with a lot of humidity (like near a sink) then you may end up with some clumps of dough so use a simple open oven door or fan instead. Bread has always been one of the most important foods out there but getting good at making your own doesn’t have to be difficult.
Is it better to mix bread dough by hand or mixer?
I’ve always felt that it’s a bit tricky to create a perfect dough by hand. It requires a lot of experience and precision in order to achieve the desired texture, not to mention being able to do it without dropping all of your ingredients on the floor. Baking requires so much practice and experience in order to create something worth eating (and healthy) so why don’t we make things easy on ourselves by using some kitchen tools that work really well?
Using a mixer will mix up the ingredients much faster than would be possible by hand and seems more consistent. Both methods will produce great results but it’s hard for me not to prefer the feel of mixing up dough with a mixer.
Is it better to knead dough by hand or mixer?
Like the mixing step, I find that the mixer does a much more consistent job of this. There’s not much of a difference in taste either so I would always recommend that you go for whatever works best for you. My current advice is to use a mixer but one day in the future, I might get so good at kneading with my hands that I’ll be able to offer a better comparison.
Can I knead dough by hand instead of a mixer?
It’s always nice to make bread from scratch but it’s also possible to mix it up with a mixer. Simply place all of the ingredients in the bowl and then use a wooden spoon or dough hook to mix them up. Once you’ve achieved a solid dough ball, switch over to your hands for the next step.
Is it better to knead bread dough by hand or mixer?
I’ve found that this doesn’t really matter too much. I wouldn’t put more than 10 minutes into kneading three times just because you’re able to do so much faster with a mixer but if you’re really persistent and want to prove me wrong, go ahead and try out both methods at once.
Is kneading the same as mixing?
Kneading is one of the most important parts of making dough because it’s when we combine all of the ingredients together. In order to do this, we’ll have to get our hands dirty and mix everything together by hand. Doing so will ensure that all of the ingredients have been mixed thoroughly and are evenly distributed throughout the mixture. This will help prevent lumps from forming in our bread and make it taste a lot better.
I’ve tried using both a mixer and my hands but found that the mixer works a lot better for me because I feel like it creates more even results. The process of kneading dough is basically just pulling it apart and pushing it back together again until all of the ingredients are completely mixed up.
Is using a dough hook the same as kneading?
Using a dough hook is great for mixing up all of the ingredients together in order to create a solid ball of dough. Using both your hands and the dough hook, you’ll be able to treat your mixture like a big batch of play-dough that you can work with. The more that you move it around and press it, the more likely it will be to form into one cohesive piece.
The difference between kneading and using a dough hook is that they are both completely different ways to do the same thing. The only difference is what’s used to perform the steps, so if you have a mixer then don’t have any problem using it in place of your hands.
CONCLUSION:
Like I said, the first time that you try making bread dough will be the hardest but each recipe will get better and easier to make. Thanks to KitchenAid’s recipe book, I’ve managed to build up a lot of experience and confidence with my baking skills which are now pretty great. I wouldn’t recommend this particular guide for people who want to learn how to bake bread right away because I think it would be easier and more enjoyable if you started out with something simple like garlic bread or loaves made from your own chopped ingredients. After you’re able to make mini sumo rolls by hand though, I would definitely recommend giving this recipe a try since it involves a lot more work and time than the others.
0 responses to “How To Knead Dough (Without A Stand Mixer!)”